Thingiverse
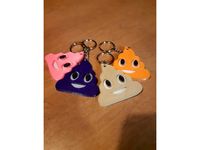
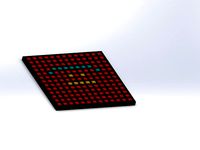
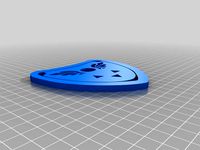
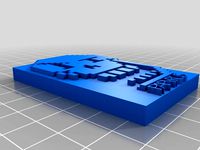
Undertale dual tone keychains by someoneonly
by Thingiverse
Last crawled date: 3 years ago
All art belongs to Toby Fox
Read instructions before printing.
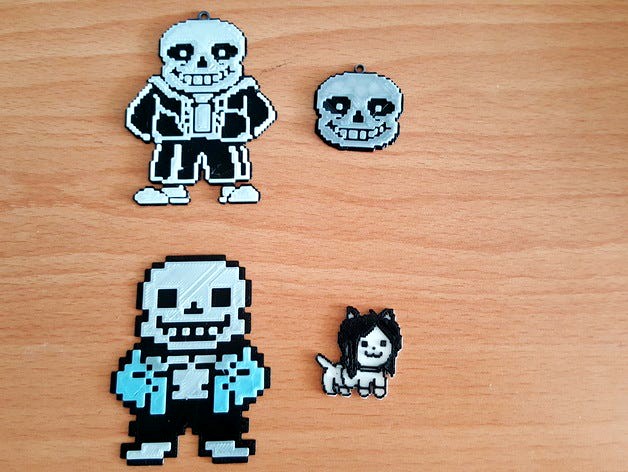
Default thickness is 3mm per layer before scaling( eg. 3mm black + 3mm white +3mm for any subsequent layers), scale accordingly in z axis or x/y. Default thickness works fine with a 100% infill(especially if your filament is not completely opaque) and a 95% flow rate/ extrusion multiplier. They were printed using a 0.4mm nozzle and the minimum part scale. You can use a finer nozzle and scale down even more if you want a actually decent sized keychain :/
Currently there are five versions(Settings below are used in the pictures):
Sans Head(Min Scale:40%)
3 layers Black, 3 layers White
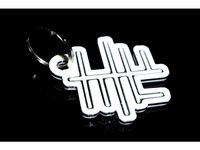
Sans Full(Min Scale 40%)
3 layers Black, 3 layers White
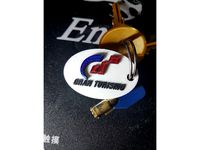
Sans Color(Min Scale 20%)
3 layers Black, 3 layers White, 3 layers Blue, 3 layers Grey
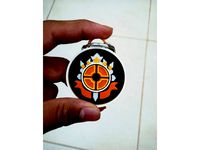
Temmie(Min Scale [55%,55%,25%]
3 layers White, 3 layers Black
Dog (Not yet tested; NOTE: Black Background which does not fit form)
-3mm Black, 3mm White
Instructions
The presets were made by combining the two files in 123Design and scaling the part to minimum recommended part scale. I highly recommend scaling (un-uniformly) in the z axis as it is pretty thin(especially for a keychain).
To customize to your own size,you can either a) manually move the ring into the scaled object and slice ignoring errors or b) use a CAD program like 123Design for manipulation if you are using a slicer like cura with auto placement.
The ring is just a simple 3mm-5mm circle designed to allow use as a keychain.
For option a) the slicing preview should show both objects merged together.
Around 50% of the total layers is when you change your filament for duo tone objects. Eg. if you have 6 layers you change filament right at the end of the 3rd layer or at the start of the 4th layer Use your slicer of choice to see the exact layer.
Read instructions before printing.
Default thickness is 3mm per layer before scaling( eg. 3mm black + 3mm white +3mm for any subsequent layers), scale accordingly in z axis or x/y. Default thickness works fine with a 100% infill(especially if your filament is not completely opaque) and a 95% flow rate/ extrusion multiplier. They were printed using a 0.4mm nozzle and the minimum part scale. You can use a finer nozzle and scale down even more if you want a actually decent sized keychain :/
Currently there are five versions(Settings below are used in the pictures):
Sans Head(Min Scale:40%)
3 layers Black, 3 layers White
Sans Full(Min Scale 40%)
3 layers Black, 3 layers White
Sans Color(Min Scale 20%)
3 layers Black, 3 layers White, 3 layers Blue, 3 layers Grey
Temmie(Min Scale [55%,55%,25%]
3 layers White, 3 layers Black
Dog (Not yet tested; NOTE: Black Background which does not fit form)
-3mm Black, 3mm White
Instructions
The presets were made by combining the two files in 123Design and scaling the part to minimum recommended part scale. I highly recommend scaling (un-uniformly) in the z axis as it is pretty thin(especially for a keychain).
To customize to your own size,you can either a) manually move the ring into the scaled object and slice ignoring errors or b) use a CAD program like 123Design for manipulation if you are using a slicer like cura with auto placement.
The ring is just a simple 3mm-5mm circle designed to allow use as a keychain.
For option a) the slicing preview should show both objects merged together.
Around 50% of the total layers is when you change your filament for duo tone objects. Eg. if you have 6 layers you change filament right at the end of the 3rd layer or at the start of the 4th layer Use your slicer of choice to see the exact layer.
Similar models
thingiverse
free
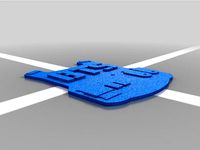
BTS LOGO KEYCHAIN by Itsa3d
...bts logo keychain by itsa3d
thingiverse
bts logo key chain
i used cura slicer
scale the z to 1.9
10-13 layer from black to white
thingiverse
free

Philadelphia Eagles - Logo by tuxcat
...x/y. this seems to be the minimum size needed to get the full white outline around the eyes with my printer using a .4mm nozzle.
cults
free
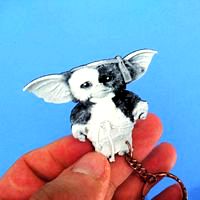
Gizmo GREMLINS Keychain
...white filaments ...
respect layer height
0.2 mm first layer
0.1 mm layer height
100% filler
speed 45 mm / s maximum
nozzle 0.4 mm
cults
free
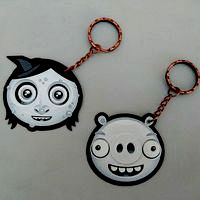
2X KEYCHAIN EMOJIS
...white filaments ...
respect layer height
0.2 mm first layer
0.1 mm layer height
100% filler
speed 45 mm / s maximum
nozzle 0.4 mm
thingiverse
free
Gran Turismo Multicolor Keychain (printable with normal 3d printers)
... layer of black so you will charge red)
you need to put a pause in the 21th layer (the last layer of red so you will charge blue)
thingiverse
free
Keychain Loss by sucito
...erfectly in the air due to bridging on white details @ 55 cm keychain length.
stl, svg and .blend files provided, happy printing!
thingiverse
free
TF2 Logo Keychain by cdeox
...ors accordingly.
use infill greater than 40% to get good surface finish.
feel free to use this however please give proper credit.
thingiverse
free
Germanic Eagle Keychain by Alex_007_Z
...ent.
once you insert the model in your slicing software, please size it up to the desired dimensions and continue with the print.
thingiverse
free
Poop Emoji Keychain by Charles2010
... color to black
if you want to order one please purchase at https://www.etsy.com/your/shops/gizmocreator/tools/listings/627810852
cults
free
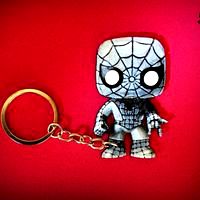
Spiderman Keychain
...white filaments ...
respect layer height
0.2 mm first layer
0.1 mm layer height
100% filler
speed 45 mm / s maximum
nozzle 0.4 mm
Someoneonly
thingiverse
free
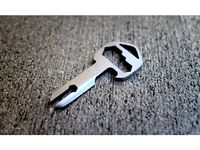
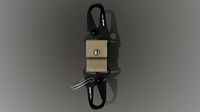
MyKee Replica by someoneonly
...t before i took the plunge.
edit the file in onshape free here
full disclaimer i havent tested it yet as my printer is still down
thingiverse
free

Hydroponic netpod germination stand by someoneonly
...ation stand by someoneonly
thingiverse
basic germination stand and for 6 23.5mm diameter netpods and a small print to soak seeds
thingiverse
free
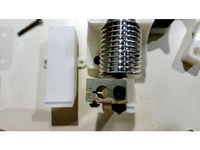
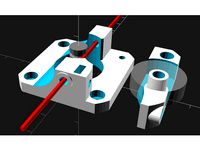
Bowden mount for Prusa by someoneonly
...ix of tech2c extruder but with 3mm hole/nut hole and the distance is changed from 22.5mm to 24mm to fit the prusa mk2 x carriage.
thingiverse
free
Bloxels by someoneonly
...range or printer but still seems to work fine. filament color variations and lighting configurations do confuse the app though.
.
thingiverse
free
Extended Fan Duct for Bowden Carriage by someoneonly
...odate for e3d clones. project can be edited in tinkercad.
dont worry about the lines in the stl file. your slicer will ignore it.
thingiverse
free
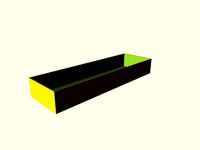
Customisable Carcassonne Box / Organiser by someoneonly
...ions but i need to be provided the dimensions as i do not own it.
original base version: http://www.thingiverse.com/thing:1419949
thingiverse
free
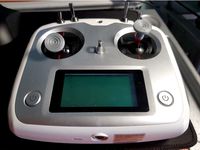
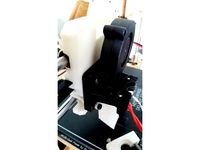
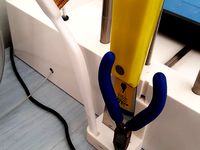
Alternative joystick for radio transmitters by someoneonly
...ed nut/ brass insert. any transmitter with a m3 thread should work too.
changelog:
v2 smaller and steeper (walls) for better grip
thingiverse
free
Modified Compact Bowden Extruder for frame mounts by someoneonly
...side to be used with my frame mount. all credits go to the original author who provided the scad file and made it easy to change.
thingiverse
free
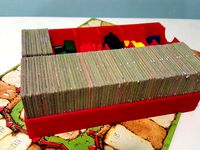
Carcassonne compact organiser/box by someoneonly
...ziploc bag as it is a fraction the size of the original packaging.
customiser version : http://www.thingiverse.com/thing:1474751
thingiverse
free
New Matter MOD-t tool holder by someoneonly
...spool holder was.
supports are built in with meshmixer. the gcode is for 0.2mm layer height on a modt with my custom cura profile
Undertale
turbosquid
free
Undertale Royal Guard Shield Design
...model undertale royal guard shield design for download as obj on turbosquid: 3d models for games, architecture, videos. (1236875)
thingiverse
free
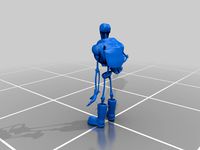
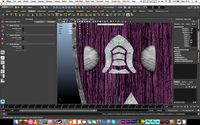
Papyrus (undertale)
...papyrus (undertale)
thingiverse
this is papyrus from undertale, i made him cause i was bored
thingiverse
free
Undertale logo by StoneColdLoki
...undertale logo by stonecoldloki
thingiverse
the logo for undertale.
thingiverse
free
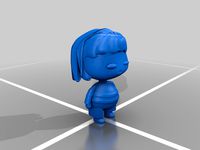
Frisk - undertale
...frisk - undertale
thingiverse
this is human
thingiverse
free

Undertale Heart by BuilderM1
...undertale heart by builderm1
thingiverse
just a simple undertale heart i made.
thingiverse
free
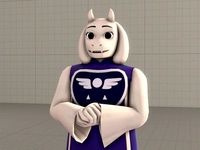
Undertale - Toriel by R15Sammy
...my
thingiverse
toriel from undertale
model from https://steamcommunity.com/sharedfiles/filedetails/?id=607303223&searchtext=
thingiverse
free
Undertale Delta Rune by Foolish_Dave
...undertale delta rune by foolish_dave
thingiverse
delta rune of the dreemurr family from undertale.
thingiverse
free
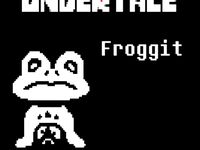
Froggit - Undertale by Kenesthor
...ercial purposes. i do not own any of the undertale content. if you want to buy the game, you can do it here: http://undertale.com
thingiverse
free
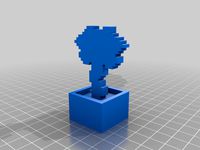
Flowey (Undertale)
...nkercad, sliced it with cura and printed it with the creality ender 3 pro printer. with tree supports it took 2.5 hours to print.
thingiverse
free
Undertale Papyrus Magnet by jamesthephilosopher
...dertale papyrus magnet by jamesthephilosopher
thingiverse
papyrus from undertale. there's a spot for a magnet on the inside.
Tone
3ddd
$1

LEFF amsterdam - collection tone
...cm / 13.8″ – depth: 6,2cm / 2.44″
- tone-black
- tone-grey
- tone-whitehttp://leffamsterdam.com/product-category/tone/
turbosquid
$7
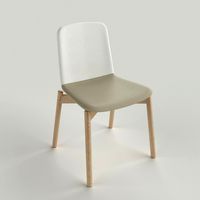
Two Tone Chair
...ree 3d model two tone chair for download as max, obj, and fbx on turbosquid: 3d models for games, architecture, videos. (1219647)
turbosquid
$6
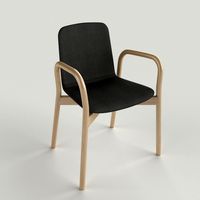
Two Tone Armchair
...odel two tone armchair for download as mat, max, obj, and fbx on turbosquid: 3d models for games, architecture, videos. (1219655)
turbosquid
$19
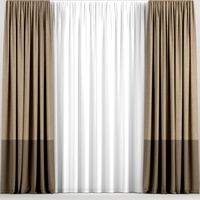
Two-tone curtains with tulle
...y free 3d model two-tone curtains with tulle for download as on turbosquid: 3d models for games, architecture, videos. (1623816)
turbosquid
$19
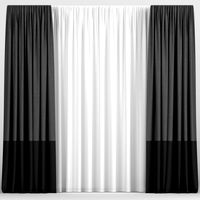
Two-tone curtains with tulle
...y free 3d model two-tone curtains with tulle for download as on turbosquid: 3d models for games, architecture, videos. (1613551)
turbosquid
$29
Two tone wedding ring
...yalty free 3d model two tone wedding ring for download as 3dm on turbosquid: 3d models for games, architecture, videos. (1199058)
turbosquid
$25
Simply two tone earrings
...ty free 3d model simple two tone earrings for download as 3dm on turbosquid: 3d models for games, architecture, videos. (1328112)
turbosquid
$19
Two-tone curtains with tulle
...ree 3d model two-tone curtains with tulle for download as max on turbosquid: 3d models for games, architecture, videos. (1449685)
3d_export
$5

LEFF amsterdam collection tone 3D Model
...rdam collection tone 3d model
3dexport
clock leff amsterdam tone
leff amsterdam collection tone 3d model leeggen 87651 3dexport
3d_export
$11

Bathroom in orange tones 3D Model
...bathroom in orange tones 3d model
3dexport
room orange living cabinet
bathroom in orange tones 3d model armata2015 98146 3dexport
Keychains
3d_export
$5
vase on a keychain
...vase on a keychain
3dexport
3d model - vase on a keychain
3d_export
$5
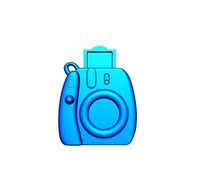
Camera keychain
...camera keychain
3dexport
keychain stl ready to print
turbosquid
$10

Keychain
...alty free 3d model keychain for download as max, fbx, and obj on turbosquid: 3d models for games, architecture, videos. (1713893)
turbosquid
$10
Keychain
...3d model keychain for download as 3dm, c4d, obj, fbx, and stl on turbosquid: 3d models for games, architecture, videos. (1600119)
turbosquid
$7
Keychain
... available on turbo squid, the world's leading provider of digital 3d models for visualization, films, television, and games.
turbosquid
$7

Keychain
... available on turbo squid, the world's leading provider of digital 3d models for visualization, films, television, and games.
3d_export
$8
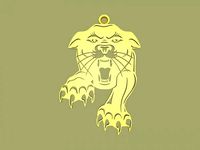
tiger keychain
...tiger keychain
3dexport
3d_export
$8

keychain lynx
...keychain lynx
3dexport
3d_export
$7
keychain motorcycle
...keychain motorcycle
3dexport
turbosquid
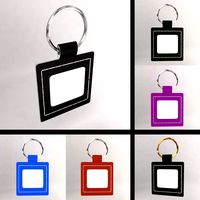
$15
Cube keychain
...id
royalty free 3d model cube keychain for download as sldpr on turbosquid: 3d models for games, architecture, videos. (1385183)
Dual
turbosquid
free

Dual Pistols
...ls
turbosquid
free 3d model dual pistols for download as fbx on turbosquid: 3d models for games, architecture, videos. (1320360)
turbosquid
$2

Dual Axe
...urbosquid
royalty free 3d model dual axe for download as fbx on turbosquid: 3d models for games, architecture, videos. (1332372)
turbosquid
$10

Dual Lesaths
... available on turbo squid, the world's leading provider of digital 3d models for visualization, films, television, and games.
3ddd
$1

плитка Dual Bianco (Испания)
...й плитки venis dual (испания). технические качества: устойчивость к стирания, отличная геометрия, отсутствие проблем при укладке.
turbosquid
$35

Dual Mesh Fonts
...ree 3d model dual mesh fonts for download as ma, obj, and fbx on turbosquid: 3d models for games, architecture, videos. (1352989)
turbosquid
$29

Dual Flask with Bungs
...del dual flask with bungs for download as obj, fbx, and blend on turbosquid: 3d models for games, architecture, videos. (1210512)
turbosquid
$19

Dual Socket Plug
...3d model dual socket plug for download as obj, fbx, and blend on turbosquid: 3d models for games, architecture, videos. (1303912)
turbosquid
$13

Dual Adjustable Pulley
... available on turbo squid, the world's leading provider of digital 3d models for visualization, films, television, and games.
turbosquid
$10

Amoi N809 Dual
... available on turbo squid, the world's leading provider of digital 3d models for visualization, films, television, and games.
turbosquid
$5

Dual Turret Tank
... available on turbo squid, the world's leading provider of digital 3d models for visualization, films, television, and games.