Thingiverse
The better X line tension-er for Printrbot Simple alpha release. by edd2225
by Thingiverse
Last crawled date: 4 years, 4 months ago
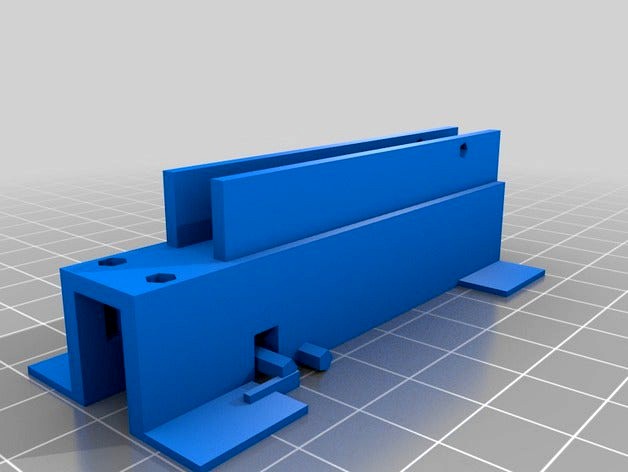
Alpha Release: I wasn't satisfied with the tensioners I found online, so I designed this one. It will not limit the full range of X axis travel. It mounts on the side of the print bed mounting plate. It can actually mount to either left or right side. From what I have read, and my experience with axis slippidge, you need to tighten that 200 lb line almost daily before you attempt to print. That gets cumbersome with the original factory design. This version simply uses a 3mm screw, 25mm long and a 3mm nut. It also features a built in spring tensioning, that could help keep the line tight for a little longer. The spring tensioner could even give a visual cue that the line is properly tensioned. Another feature is the separate slider so that you do not have to worry about line twisting as you tighten the screw. The idea is to be able to make adjustments fast and easy. Caveats: I do not know if I have the spring feature strong or weak enough. I do not know how long the plastic will work as a spring material without loosing strength. I've had problems making accurate prints, so this design was built for the possibly sloppy tolerances of my printer. The area that could give people problems is the skirt that is expose to fit snug on the edge of the board.
UPDATE: 9-29-2013 Was having troubles printing part because one end would lift from the board making the part deformed. The part was usable, but I made some refinements to the file and it's now "XTensionerchutev2wings.stl" The wings help the part stick to the board better so it doesn't get deformed while print. Once the part is done, you would cut the wings off. I also added a couple of little posts, so that a indicator needle could be attached to give an idea of how tight the line is.
Slicer Settings:
NO bridging.
Brim 0mm (the spring gets glued together if not set to 0.)
Skirt loops 3
Distance from object 0mm. (The skirt becomes the new brim, but only on the outside/around)
Skirt height 1 layer.
I do not have limit switches on this printer yet, so it can be a challenge to make sure level is correct. I like the three loops so I can eye the extrusion and have a chance to correct or cancel. It also gives the extruder a chance to stabilize the output before it gets to the important parts it's making.
9-30-2013 Updated the slider some so it would hold the nut better. Made the hole a touch bigger so it didn't grab the screw so tight. Over all, I think this project is a success. Made three or four prints, and it is doing well with no slippage. I even tried a calibration part print at 200% and it came out with no slippage. That makes me really happy, but my fear is 200% is pressing my luck.
Slippage TIPS: The printrbot simple was shipped to me with acceleration settings on 2,000. Between that and the design of the stepper motor connections, it was a major cluster trying to get a good part printed. Change Repetier-Host v0.90c-- config -- EEProm settings -- Maximum acceleration (mm/s) x 100 y 100 z 100
This will help a lot. Make sure you prep the stepper motors to reduce slippage. I used a diamond bit and scuffed up the shaft of the stepper, then a drop of superglue and slid the vinyl on. Don't get no superglue in the bearing of the stepper, for obvious reasons. Originally, I tried 1,000 grit wrapped around the vinyl tubing. That worked, but I seem to have better results with wet/dry 220 grit. Also, get rid of the factory fishing line. The stuff I received, wasn't round. and seemed thin compared to the 150lb test kevlar weaved kite line(ebay 200 ft $5.99). Yes, I did glue the sandpaper down, and used a nylon pull zip tie. I finally went to 1 turn around the stepper, and it has been giving good results.
When before I was only getting maybe 1 out of three usable prints, it was very frustrating. I also went out and got a piece of acrylic. Sanded the surface, 5 or so drops of oil, then wipe off with a rag. Make sure you have the extrude at the right height. Too high, and your part won't stick to the board. To low, and it's like the first layer has been smushed. Clean the extrude head, and use a piece of paper as a feeler gauge.
update 10-09-2013: String started shredding and plugging up the grit in the sand paper. Currently experimenting with vinyl coated steel cable. also notice that the plastic spring is showing some fatigue. Not returning to original, new position. But over all, love the ease of tensioning.