Thingiverse
Raspberry Pi 4 Classic Mac by flemingt
by Thingiverse
Last crawled date: 4 years, 3 months ago
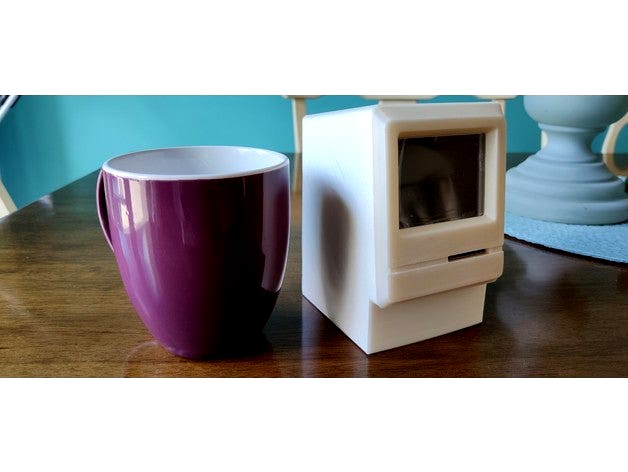
I never owned a Classic Mac so I designed this representation in FreeCAD 19.1 to use a Raspberry Pi 4B, MZDPI-VGA-Zero screen, ribbon cable, and micro SD to SD card extension cable.
This is the screen: https://www.aliexpress.com/item/32911203371.html?spm=a2g0s.12269583.0.0.7f776208h3StfO
This is the SD extension: https://www.aliexpress.com/item/4001203159338.html?spm=a2g0s.12269583.0.0.544f1ef9iJgfwn
I took the ribbon cable from this: https://www.aliexpress.com/item/32848985668.html?spm=a2g0s.12269583.0.0.65b8317092xb0u
The "floppy" disc slot takes a full sized SD card. I desoldered a resistor on the SD card extension cable to make read/writes more reliable.
To get the screen working on a Pi4
Create a full raspberry pi OS SD card.
Create an empty file called SSH and put it in boot
Create a wpa_supplicant.conf file, there's lots of info online on what to put in it, and put it in boot.
Edit the config.txt file in boot to comment out the pi4 display drivers so that it looks like this:
[pi4]
"# Enable DRM VC4 V3D driver on top of the dispmanx display stack"
"# dtoverlay=vc4-fkms-v3d"
"max_framebuffers=2"
I also added
disable_splash=1
to the beginning of the file
Insert the SD card into the pi and let it boot, the screen will be blank.
if your wpa_supplicant.conf file is correct you should be able to see the pi on your network.
SSH in using the default usr/pwd combo.
Run the screen installer script:
cd ~/
git clone https://github.com/tianyoujian/MZDPI.git
cd MZDPI/vga
sudo chmod +x mzdpi-vga-autoinstall-online
sudo ./mzdpi-vga-autoinstall-online
You'll also need to change the following in boot/config.txt
"dpi_output_format=0x07f003" to "dpi_output_format=0x07f203". To fix some weird colour issues.
I also added the following lines based on some googling:
gpio=18-19=op,dh,pd #this line is actually a change
gpio=0-8=a2
gpio=12-17=a2
gpio=20-24=a2
reboot the pi and the screen should work.
connect a keyboard and mouse and continuing setting up the PI OS.
I had compiled a version of QEMU screamer on the lite OS and it runs OS9, this is a bit unstable so I switched to Mini vMac following instructions from here:https://www.instructables.com/Making-a-Tiny-Mac-From-a-Raspberry-Pi-Zero/
I used steps 8, 9 (but with WinSCP), 10, 11 & 12 only.
(also here: https://www.thingiverse.com/thing:4775622)
Once completed, I set the application to auto-start
From the above link it looks like my idea wasn't very original, except I went for a Pi4 and designed a simpler to print and assemble 2 piece case with plenty of room to add internal speakers and a small amplifier.
Printing:
Cura 4.9.1
Infill 20%
0.4mm nozzle
0.2mm layer height
Its possible to print the entire rear case at once by tilting it back at 45 degrees, using a raft and some custom supports.
The screen can be printed face down.