Thingiverse

Maker Select Plus Z-Axis Level Feet by TEN1964
by Thingiverse
Last crawled date: 3 years, 1 month ago
I am totally new to 3D printing and was looking for a project that would give me experience and provide something useful. I appreciate the files provided by everyone on Thingiverse and other websites to help the rest of us to learn and contribute to others.
My project was based off a posting by Spool3d which was based off a project from Azziz and his original z brace design.
I used Azza's "Z braces for Wanhao Duplicator i3, Cocoon Create, Maker Select, and Malyan M150 i3 3D printers."http://www.thingiverse.com/thing:921948
Just print the top_right, top_left and 4 of the MK2 balls from Azza's braces.
I did a remix of Spool3D_canada,"z Brace for Wanhao Duplicator i3 PLUS".http://www.thingiverse.com/thing:1653631
Print the 4 remixed files I have provided for the front left, front right, rear left and rear right.
I did purchase the following supplies from Home Depot:
Qty:1-5/16-18UNC X 36" threaded rod cut in half with hand saw
Qty 2: 5/16-18UNC Locknut, (goes to lower threaded rod in assembly)
Qty 4: 5/16-18UNC Hex Nut, (goes to Upper MK2 Balls, direction of ball important)
Qty 8: M3-0.5 X 12mm Socket Head Cap Screw (To replace upper brace screws)
Qty 4: M5-0 8 X12mm Socket Head Cap Screw (To replace front and rear face screws)
Qty 4: Threaded Furniture Glides (SKU 193 637) 1/4" thread with a press fit threaded plug
All items will be located in the fasteners/hardware section at the store
Be aware the unit could be considered heavy to some and an extra hand could be helpful. I inserted the rod and locknut into the lower supports first and slide the rod up towards the upper support, you must install the nut and ball (knurl down) and screw down about 2 inches prior to inserting the rod into the upper support. Next insert into the support and thread the nut and ball (knurl up) onto the top support. The length of rod and the angle can interfere with the machine support, you will need to thread nuts low enough for it to fit.
My leveling models have incorporated the threaded insert provided with the leveling feet, you will need to press fit them into the hole with a pliers or small vise.
I worked front left to right, than worked on the back. I used a small level sitting on the bed support rods and adjusted the feet up or down to level off the machine,
Hope my instructions and parts will be helpful to others, I am open to feedback and will be working on a leveling foot design for the bottom of the supports.
The front right support was updated 11-May-17 to correct the nut depth issue.
Similar models
thingiverse
free

Wanhao i3 Tower Feet to be used with AzzA's Z-braces by dumbcomputers
...d with friction to give additional support for the frame when you have azza's z-braces installed on the wanhao duplicator i3.
thingiverse
free

Wanhao Duplicator I3 simple rear Z braces by plapointe6
...s to replaces the originals.
i recommend to use my y bracing feets with these z braces :https://www.thingiverse.com/thing:2764137
thingiverse
free

Maker Select V2/Wanhao Simple Z-Brace
...ng
qty 4: 5/16 nuts
i printed mine 100% infill for max strength. it doesn't take much time at all to make all the components.
thingiverse
free

Wanhao Di3 Front Feet by devaidoit
...nhao i3 z brace mod to work with available threaded stem glides. (found at home depot for ~$4, threaded stem glides sku #141178)
thingiverse
free

z Brace for Wanhao Duplicator i3 PLUS by spool3d_canada
...eners from the printer.
1mm to 1.2mm walls or 3 shells, and 50% infill @ 0.2mm layer height
m8 or 5/16" threaded rods ~420mm
thingiverse
free

z Brace for Wanhao Duplicator i3 Plus Rear Feet only by jennech
...feets.
https://www.thingiverse.com/make:344498https://www.thingiverse.com/thing:1653631
updated left rear to fit for power switch
thingiverse
free

Leveling Feet for Azza's Z-Braces by Jabouty
...bqpa
tower: http://a360.co/2thpk2v
these feet will work for either anyworldgames' frame rebuild or azza's z-braces alone.
thingiverse
free

SWD1 KIT Z-AXIS FOR WANHAO DUPLICATOR I3 / MONOPRICE MAKER SELECT by ShadowWeaver2067
...yaxis blocks and the zaxis towers. while only some similarties exist between both of the other two creations, these...
thingiverse
free

Wanhao Duplicator I3 Y brace feets by plapointe6
...grip pads 1-1/2"" under each foot.
they are compatible with my rear z braces :https://www.thingiverse.com/thing:2764114
thingiverse
free

Gantry Feet for Azza Z Brace Mod for Wanhao Duplicator i3, Monoprice Maker Select, and Cocoon Create by rawlogic
...om for a foot.
this remix was remodeled from scratch with a 3mm bottom and room for a 3/4" (20mm) self-adhesive rubber foot.
Ten1964
thingiverse
free

Dog Bowl Platform by TEN1964
...50 (model size). the stl file is direct from solidworks and not grabcad, do what you can with it. hope someone finds this useful.
thingiverse
free

Anti-vibration feet for Wanhao Duplicator i3 Plus by shusy
...design of anti-vibration set of feet instead leveling used inten1964(https://www.thingiverse.com/ten1964/about) ...
thingiverse
free

Wanhao i3 Plus Z Brace w/level (feet only) by mediaman
...remix of both abrandi's mod of 3dspool_canada's feet and ten1964#39;s mod for the i3 plus to be used with...
Feet
3d_export
$30

Legs and feet High feet 3D Model
...t high feet 3d model
3dexport
feet shoes sandal barefoot leg women
legs and feet high feet 3d model adrianaamerina 96817 3dexport
3ddd
$1
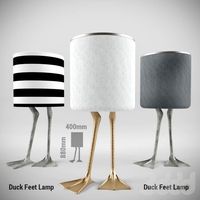
DUCK FEET LAMP
...duck feet lamp
3ddd
утка
duck feet lamp
turbosquid
$19
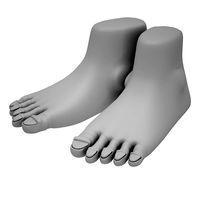
Feets 01
...3d model feets 01 for download as max, max, max, fbx, and obj on turbosquid: 3d models for games, architecture, videos. (1624047)
turbosquid
$2

Robo3D Feet
... available on turbo squid, the world's leading provider of digital 3d models for visualization, films, television, and games.
turbosquid
free

Feet study
... available on turbo squid, the world's leading provider of digital 3d models for visualization, films, television, and games.
turbosquid
free

Hands and Feet
... available on turbo squid, the world's leading provider of digital 3d models for visualization, films, television, and games.
turbosquid
$9

Female Feet 01
...oyalty free 3d model feet 01 for download as ma, obj, and fbx on turbosquid: 3d models for games, architecture, videos. (1446069)
turbosquid
$19

The feet of Hercules trainer
... feet of hercules trainer for download as , stl, fbx, and obj on turbosquid: 3d models for games, architecture, videos. (1684923)
turbosquid
$79
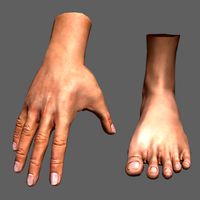
Hand and Feet (Rigged)
... available on turbo squid, the world's leading provider of digital 3d models for visualization, films, television, and games.
turbosquid
$15

Viabizzuno Big Feet
... available on turbo squid, the world's leading provider of digital 3d models for visualization, films, television, and games.
Select
3ddd
$1

TUBADZIN SELECT
...max 2014, 2011.
fbx 2014, 2013, 2011,
obj
_____________________________________http://www.tubadzin.pl/en/collection/324
3ddd
$1
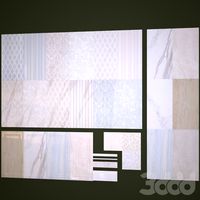
Плитка Selection
... supergres , плитка
плитка selection - supergres ceramiche
turbosquid
$15
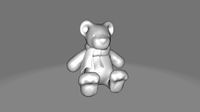
Christmas Selection
...royalty free 3d model christmas selection for download as fbx on turbosquid: 3d models for games, architecture, videos. (1696333)
turbosquid
$39

Vases selection
... available on turbo squid, the world's leading provider of digital 3d models for visualization, films, television, and games.
turbosquid
free

SELECTIVE RACKING SYSTEM
...yalty free 3d model selective racking system for download as on turbosquid: 3d models for games, architecture, videos. (1282512)
turbosquid
$10
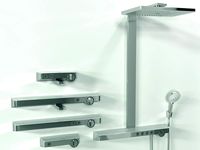
Hansgrohe ShowerTablet Select
...ee 3d model hansgrohe showertablet select for download as max on turbosquid: 3d models for games, architecture, videos. (1336955)
turbosquid
$29
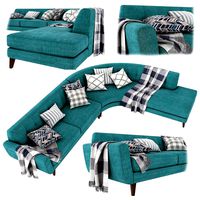
Chill selectional sofa
...odel chill selectional sofa for download as max, obj, and fbx on turbosquid: 3d models for games, architecture, videos. (1465691)
3ddd
free

Lunaria - Nova, ASA Selection
... asa selection , dried flowers
ветка лунарии в вазе nova, asa selection
3ddd
$1
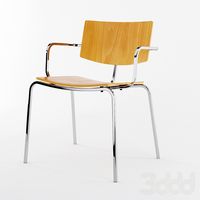
inno SELECT SLIM chair
...inno select slim chair
3ddd
inno
high detailed inno select slim chair
turbosquid
$29

Select Chaise Lounge
... available on turbo squid, the world's leading provider of digital 3d models for visualization, films, television, and games.
Plus
turbosquid
$2
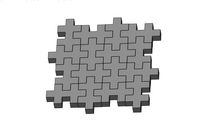
plus-plus puzzle and lego
...d model plus-plus puzzle and lego for download as stl and obj on turbosquid: 3d models for games, architecture, videos. (1662633)
3ddd
$1
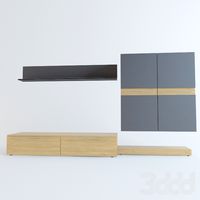
Стенка Plus
...стенка plus
3ddd
plus , модная мебель
фабрика "модная мебель", модель plus
3ddd
$1
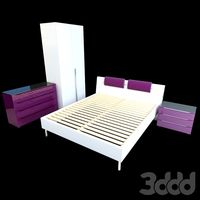
Спальня METIS plus
... hulsta , metis , спальня
спальня metis plus
design_connected
$11
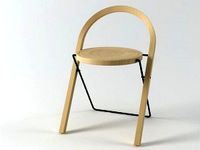
be plus B+
...be plus b+
designconnected
blå station be plus b+ chairs computer generated 3d model. designed by börge lindau.
design_connected
$11
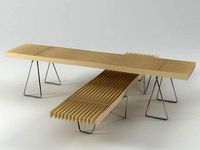
Bank Plus
...bank plus
designconnected
röthlisberger kollektion bank plus coffee tables computer generated 3d model. designed by atelier oi.
3ddd
$1
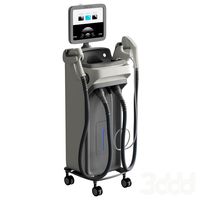
elos Plus
... candela
elos plus — мультифункциональный аппарат для проведения лазерного и ipl лечений
3ddd
$1
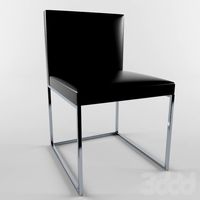
Calligaris Even Plus
...calligaris even plus
3ddd
calligaris
calligaris_chair_even plus
design_connected
$29
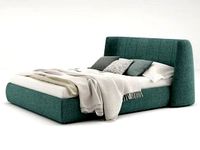
Basket Plus
...nconnected
photo-realistic 3d models of the basket plus bed from bonaldo for 3d architectural and interior design presentations.
3ddd
free

Artpole Faktum Plus
... артполе , панель
artpole faktum plus
размеры:
высота 625мм
ширина 800мм
глубина 17мм
3ddd
$1
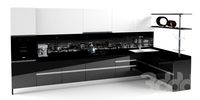
Мария / Jazz Plus
...мария / jazz plus
3ddd
мария
кухня фабрики мария модель__jazz plus
Axis
3ddd
$1

Мария Axis
...
3ddd
кухня , классическая , axis
модель кухни.
3d_export
$22
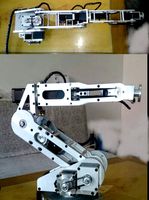
Axis robot 6-axis robotic arm
...ing parts drawings, standard parts purchased parts list, can be produced directly according to the drawings, welcome to download!
3ddd
free

Versatile Axis
...ddd
nexus , плитка
http://bvtileandstone.com/ceramic-porcelain/versatile-axis/
3d_export
$19
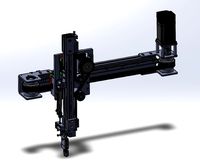
robot 2 axis
...robot 2 axis
3dexport
robot 2 axis
turbosquid
$40
Axis R5F
... available on turbo squid, the world's leading provider of digital 3d models for visualization, films, television, and games.
turbosquid
$40
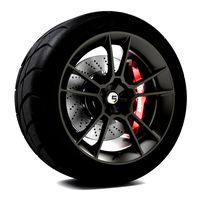
Axis S5F
... available on turbo squid, the world's leading provider of digital 3d models for visualization, films, television, and games.
turbosquid
$30
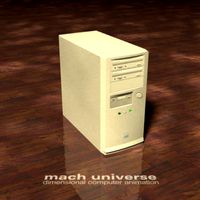
Axis Athlon
... available on turbo squid, the world's leading provider of digital 3d models for visualization, films, television, and games.
turbosquid
$10
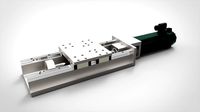
Linear Axis
... available on turbo squid, the world's leading provider of digital 3d models for visualization, films, television, and games.
3d_export
$15

drawing axis
...drawing axis
3dexport
simple rendering of the scene file
3ddd
$1
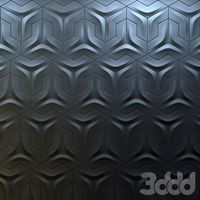
versatile axis ARC
...versatile axis arc
3ddd
versatile , плитка
versatile axis arc red dot design award
Z
3d_export
$5
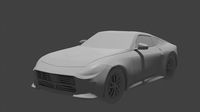
nissan z
...nissan z
3dexport
nissan z
3ddd
$1

Vase Z
...vase z
3ddd
vase z
3ddd
$1
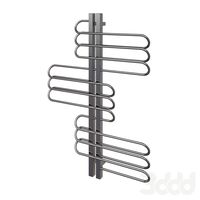
полотенцесушить Z
...полотенцесушить z
3ddd
полотенцесушитель
полотенцесушить z
design_connected
free
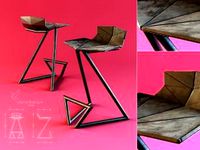
Z-Chair
...z-chair
designconnected
free 3d model of z-chair designed by karman, aleksei.
design_connected
$11
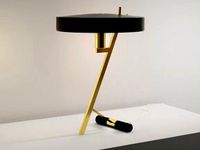
Z Lamp
...z lamp
designconnected
phillips z lamp computer generated 3d model. designed by kalff, louis.
3d_export
$5
Dragon balls z
...dragon balls z
3dexport
dragon ball z
turbosquid
$20

Fighter Z
...
turbosquid
royalty free 3d model fighter z for download as on turbosquid: 3d models for games, architecture, videos. (1292563)
turbosquid
$9

Pen Z
...pen z
turbosquid
free 3d model pen z for download as obj on turbosquid: 3d models for games, architecture, videos. (1686775)
turbosquid
free
z chair
...z chair
turbosquid
free 3d model z chair for download as max on turbosquid: 3d models for games, architecture, videos. (1410230)
turbosquid
$5

Letter Z
...urbosquid
royalty free 3d model letter z for download as max on turbosquid: 3d models for games, architecture, videos. (1408540)
Level
design_connected
$11

Levels
...levels
designconnected
one nordic levels computer generated 3d model. designed by form us with love.
design_connected
$7
Level
...level
designconnected
zanotta level shelves and storage computer generated 3d model. designed by arik levy.
turbosquid
$29
level
...ty free 3d model level for download as 3ds, obj, c4d, and fbx on turbosquid: 3d models for games, architecture, videos. (1272856)
turbosquid
$1
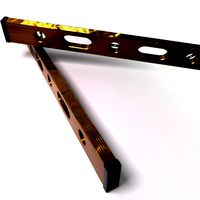
level
... available on turbo squid, the world's leading provider of digital 3d models for visualization, films, television, and games.
3d_export
$5
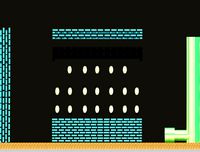
Mario level
...mario level
3dexport
mario level low quality for fun videos
3ddd
$1
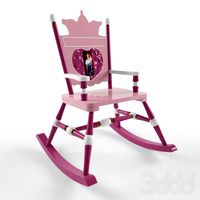
LEVELS OF DISCOVERY
...етская мебель "levels of discovery". rab10003 princess mini rocker
кресло-качалка (мини) "принцесса навсегда"
3d_export
$19
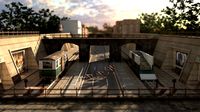
level design
...level design
3dexport
you can use this design (level design) in your own game.
turbosquid
$60

Desert level
...squid
royalty free 3d model desert level for download as fbx on turbosquid: 3d models for games, architecture, videos. (1208131)
turbosquid
$15
Transit Level
...quid
royalty free 3d model transit level for download as max on turbosquid: 3d models for games, architecture, videos. (1158112)
turbosquid
$14

Districts Level
...id
royalty free 3d model districts level for download as max on turbosquid: 3d models for games, architecture, videos. (1408410)
Maker
3d_ocean
$17
Coffee Maker
...coffee maker
3docean
breakfast coffee drip electric maker morning
detailed coffee maker and a plug.
3ddd
$1
coffee maker
...coffee maker
3ddd
кофемашина
coffee maker
3d_export
$10
chapati maker
...chapati maker
3dexport
it is a indian traditional chapati maker
archibase_planet
free
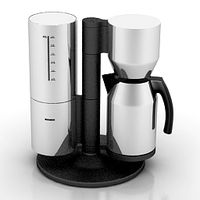
Coffee maker
...aker
archibase planet
percolator coffee-machine coffee maker
coffee maker - 3d model (*.gsm+*.3ds) for interior 3d visualization.
archibase_planet
free
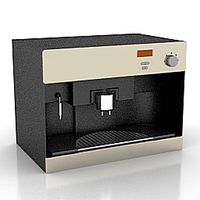
Coffee maker
...aker
archibase planet
percolator coffee-machine coffee maker
coffee maker - 3d model (*.gsm+*.3ds) for interior 3d visualization.
archibase_planet
free
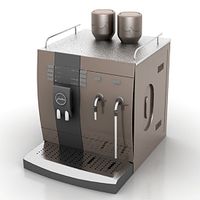
Coffee maker
...aker
archibase planet
percolator coffee-machine coffee maker
coffee maker - 3d model (*.gsm+*.3ds) for interior 3d visualization.
archibase_planet
free

Сoffee maker
...er
archibase planet
coffee maker percolator coffee-machine
сoffee maker n020112 - 3d model (*.3ds) for interior 3d visualization.
archibase_planet
free
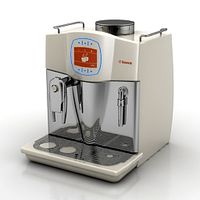
Coffee maker
...aker
archibase planet
coffee maker percolator coffee-machine
coffee maker - 3d model (*.gsm+*.3ds) for interior 3d visualization.
3ddd
$1

Juice Maker
...juice maker
3ddd
соковыжималка
fully detailed kenwood juice maker
archibase_planet
free

Coffee maker
...hibase planet
coffee maker percolator coffee-machine
coffee maker n140611 - 3d model (*.gsm+*.3ds) for interior 3d visualization.
