Thingiverse
Losi Tenacity SCT GoPro Mount by ComikzInk
by Thingiverse
Last crawled date: 4 years, 4 months ago
THIS THING IS NOW ON MyMiniFactory AND SHALL BE UPDATED THERE ONLYhttps://www.myminifactory.com/object/3d-print-99897
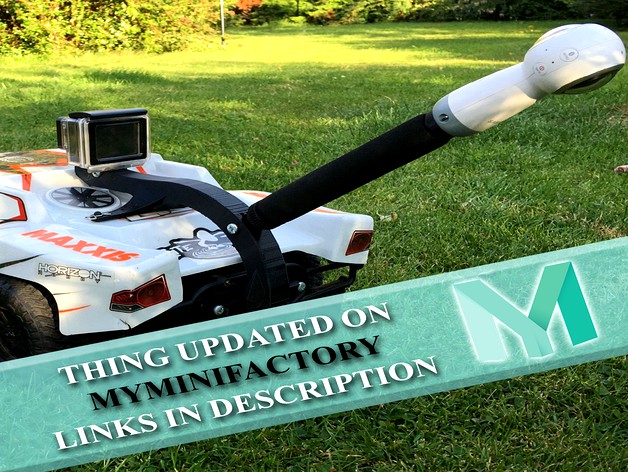
First thing I needed for this SCT was a GoPro mount. As usual I couldn't find one so here is mine. 2 parts, one being the main mount and the other being a supportive bracket for the tail to hold it in place when bashing about. The mount is strong enough that you can lift it from the curved section (can be seen from images). Depending on your printer and material quality you may want to adjust settings to be able to do this without snapping or straining your print.
The mount itself makes getting some decent FPV footage (without ruining the shell) possible such as some of the clips from below.https://www.youtube.com/watch?v=Ewpua9ZcZTM
For a higher versitility print with a higher infill. Mine is 50% with PLA at a layer height of 0.3mm which will take any shock and vibrations. It will however break off if you roll onto it so bear that in mind if you're out recording, bring a spare :)
To print this lay the main mount at an angle so that the tail and head are touching the build plate, this way you will need less support material. The secondary part can be printed as you wish, if you want to follow how I have done it see the screenshot in the provided images of how mine is laid out in Cura. My settings were PLA, 0.3mm layer height, wall thickness of 1mm, 50% infill, 60degree overhang angle for supports and a brim of 5mm to help some of the finer supports adhere to the plate.
Once printed remove all the support material and clean up any of the edges. You will need 3x m5 bolts (20mm long or more) with 3x m5 nuts. 2 will go on the tail bracket and 1 will be used for the GoPro mount. If the holes are not big enough take a drill and a 5mm bit and gently bore them out a little more. Gluing the nut into the premade holes will help but can be left loose if you wish to reuse them later.
On the Tenacity adjust the rear body mount posts so that you have an additional spacing to fit the mount onto. If unsure of how you've done it refer to the images provided of how mine is setup.
Place the body back on and put the tail end on first and slide the bracket in from the back, it should fit nice and snug but if it's a bit off sand down the offending edges and begin tightening up the bracke so it clamps onto the rear bumper. Don't overtighten as you may damage the mount.
Now with the tail firmly in place you can push the body mounts down over the posts and pin them in with the clips. There should be enough space to easilly put the clips in, if not check with my images if your posts match.
Screw on your GoPro (or other compatible camera) and tighten up the bolt into the nut on the other side. If it's loose try using insulation tape to layer up the slot.