Thingiverse
Ender 3 Spool Bracket Riser
by Thingiverse
Last crawled date: 5 years, 5 months ago
Ender 3 Spool Bracket Riser
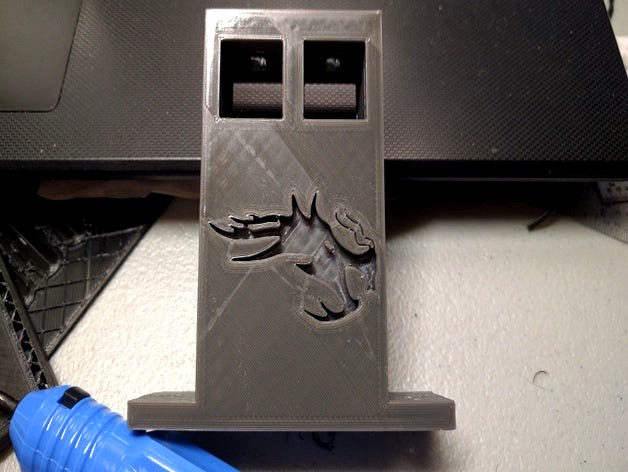
Raises the original Ender filament spool bracket up by 75mm. I needed to raise the spool for my printer because it came into contact with my printer's enclosure. I chose 75mm because it could easily accommodate larger diameter spools.
Details
The riser is 75mm tall, 73mm wide, and 21mm deep and the base is 5mm thick.
STL Files
ender3-filamentspool-bracket-riser-v2.stl : 75mm riser with the Ender dragon logo on one side.
ender3-filamentspool-bracket-riser-V2-plain.stl: 75mm riser without the logo
ender3-filamentspool-bracket-riser-V2-plain-50mm.stl: 50mm riser without the logo
Additional Parts Needed
M5 nuts X 2
M5 8mm screws X 2
Assembly
After printing:
Insert each of the M5 nuts into the wells located on the underside of the top of each of the square openings. They should snap in and be held in place.
Remove the spool bracket with the screws ad t-nuts from your printer.
Temporarily remove the spool holder from the bracket.
Remove the screws and t-nuts from the bracket, set the t-nut aside.
Lay the bracket flat and lay the riser on one side.
Align the holes and reuse the screws to attach the bracket to the riser. Tighten, but do not over tighten the screws.
Insert the M5x8mm screws into the base of the riser. The holes are intentionally a tight fit but the screws should be able to turn in the holes without threading.
Attach the t-nuts, turn them only 3 or 4 revolutions to keep them on the screws.
Place the riser onto the printer's cross beam and tighten the screws, be sure that the t-nuts orient correctly as you tighten them.
Reattach the spool holder.
Credits
The Ender dragon logo was found here: Creality Ender-3 Logo by tom666 on Thingiverse.