Thingiverse

Ender 3 Pro Motherboard Case by grumblegore
by Thingiverse
Last crawled date: 2 years, 10 months ago
This is a new design to replace the stock Ender 3 Pro motherboard case, which will fit both the form-identical 4.2.7 silent motherboard or the Bigtreetech SKR Mini E3 v2.0, as well as mount a buck converter for a fan upgrade. It also features a full-size SD card slot in the front in case you're tired of fiddling with the teeny tiny ones.
If you find yourself needing to access the motherboard compartment on your Ender 3 Pro more than one time after you buy it, for example to...
replace the board
install a BLTouch
replace the fan
stare at the inside
...you'll curse the fact that you not only have to flip the whole machine over but also access screws on both sides. There is simply no convenient way to work in that compartment in the stock location.
Same Location
If you have already moved your PSU to the back of the unit, perhaps under the Y axis to make room for a dual Z upgrade, you no longer have that location open for the motherboard chassis unless you want to move the PSU again. And if you've already chosen or created a control box for your raspberry pi - perhaps under the LCD - then you don't really need a full electronics box in the rear anyway. This thing keeps the motherboard in the original area.
The stock cables on the Ender 3 Pro are extremely tight. There is negligible allowance to move the motherboard mount location any further forward from the base than it is when it's mounted in the factory location. This mount moves it forward just a few millimeters, and doesn't require any longer aftermarket cables to be run. At least, it didn't on the unit it was originally built for.
Room for more
Unable to find a CAD model for the 4.2.7 board, this case was literally built around the Bigtreetech SKR Mini E3 v2.0 model. The mounting holes are identical between that and the Creality 4.2.7 silent board, which is what I have installed in the first 'final' print.
The stock 4010 fan fits upright screwlessly in a mount that holds it to the side of the case, and a buck converter can be mounted in the front just behind the grill in case you want to upgrade to something that isn't 24v. The stock fan is actually 10.5mm thick, so any 4010 that thick or thinner should fit fine.
Due to the motherboard location not allowing access to the front ports, this inspired a slot in the front to mount a micro SD to regular SD converter ribbon cable. If you're using a raspberry pi that needs to connect to the motherboard, the cable will enter the box through the same hole your LCD ribbon cable does, but you'll still have full access to the SD card without opening the box.
Requirements
All are "optional" if you want to be pedantic about it.
5x M3 6mm screws for the motherboard, if you want it secure in the case
2x M3 screws, 6mm or so, plus T-nuts for the sides, if you want it to sit between the extrusions instead of falling on whatever surface supports your printer
Micro SD to SD Card Extension Cable Adapter, if you want access to the SD reader without opening the lid
2x M3 6mm screws for a buck converter, if you want to install an aftermarket fan that is less than 24v
Upgraded 4010 fan, if you want less / different noise in your life
Similar models
thingiverse
free

ADKS - Ender 3 Motherboard Case - 4010 Fan Spacer by stormbringer91
...stormbringer91
thingiverse
this is a spacer to snap any 4010 fans into place for adark studio's ender 3 motherboard case v3.
thingiverse
free

Ender 3 120mm fan case by tjbtiller
...ews for pc fan
(x5) m3x6 screws for the motherboard
(x4) m3 screws to mount to a flat surface (bottom of an enclosure in my case)
thingiverse
free

Ender 3 V2 Mainboard cover for 80x80 Fan by LionelDagon
...5) screw the fan with the supplied screws
6) be sure your printer is turned off and wired the buck converter to mainboard supply.
thingiverse
free

variable voltage buck converter mount for ender 3 by mattkenny
...e it's a relatively common modelhttps://core-electronics.com.au/20w-adjustable-dc-dc-buck-converter-with-digital-display.html
thingiverse
free

Ender 3 Pro SKR 1.3/1.4 (Turbo) Front Housing by Olivarius
... help to anyone. if any one wants the version with the original 4010 van please let me know and i will upload it as well.
thanks.
thingiverse
free

Bigtreetech TFT35 V 3.0 Case For The Ender 3
...for the factory screen so i made this one by remixing seraphim202's back case to fit the ender 3's stock screen location.
thingiverse
free

Case for LM2596 (Buck Converter) by Cyklopet
...re to use support from buildplate when printing the case with mounting because of the overhang that comes the arrow-shaped mount.
thingiverse
free

Ender 3 Pro Electronics Case
... 60mm fan, and the improvement is wonderful. stock screws used.
i leave all files attached so you can modify them to your liking.
thingiverse
free

SKR 1.3 / 1.4 and LM2596 Case for Creality Ender 3 Pro by aeroYasir
...attach the fan.
1x 3d printed covers from original thing
i printed this case with esun pla+, 4 walls, 35% infill, and no supports
thingiverse
free

2020 extrusion Ender LCD Mount by sychan
...lts will contact the motherboard). the mounting bracket uses 2 m4 screws + t-nuts to attach to the 2020 extrusion on the ender 5
Grumblegore
thingiverse
free

G-Clamp Notched by grumblegore
...rily these are cup and bottle holders at the moment; see my profile for the things.
[1] https://www.thingiverse.com/thing:1673030
thingiverse
free

Yeti 20oz Rambler Tumbler Holder with Clamp by grumblegore
... parts are included in this file, and also available separately [1] on thingiverse.
[1] https://www.thingiverse.com/thing:4902409
thingiverse
free

Contigo Water Bottle Holder with Clamp by grumblegore
... parts are included in this file, and also available separately [1] on thingiverse.
[1] https://www.thingiverse.com/thing:4902409
thingiverse
free

AA Battery Wall Dispenser Magazine by grumblegore
...entually make a complimentary design for aaa and 9v, but they will probably not be dimensionally or even proportionally the same.
Motherboard
turbosquid
free

motherboard
... available on turbo squid, the world's leading provider of digital 3d models for visualization, films, television, and games.
3d_ocean
$25
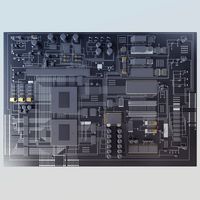
Motherboard
...el with great shaders (mental ray). created in 3ds max 2011 but opens in older versions. it’s textured with mental ray materials.
3d_export
free

motherboard gaming
...motherboard gaming
3dexport
<br>your model for your future gaming motherboard is now available for free, download and try.
turbosquid
$30

Realistic Motherboard
...ee 3d model realistic motherboard for download as obj and fbx on turbosquid: 3d models for games, architecture, videos. (1394853)
turbosquid
$15

UFO MOTHERBOARD
... available on turbo squid, the world's leading provider of digital 3d models for visualization, films, television, and games.
turbosquid
$200
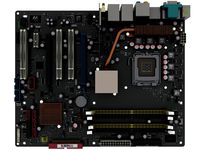
High detailed motherboard
... available on turbo squid, the world's leading provider of digital 3d models for visualization, films, television, and games.
turbosquid
$60

Motherboard Asus-like
... available on turbo squid, the world's leading provider of digital 3d models for visualization, films, television, and games.
3d_export
$35

Motherboard computer desktop 3D Model
...e computer tecnologies electronics pc hp hd 3d mouse audio screen
motherboard computer desktop 3d model master3d96 74133 3dexport
turbosquid
$52

M2N61 LA Nyssa Motherboard With 8GB DDR3 Ram
... available on turbo squid, the world's leading provider of digital 3d models for visualization, films, television, and games.
3d_export
$55

ASUS Maximus VIII Extreme Z170 Motherboard 3D Model
...b
asus maximus viii extreme z170 motherboard 3d model download .c4d .max .obj .fbx .ma .lwo .3ds .3dm .stl kint3d 109003 3dexport
Ender
3ddd
$1
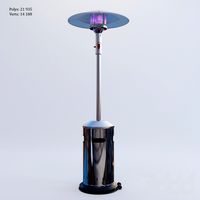
Enders / Elegance
...enders / elegance
3ddd
обогреватель
уличный газовый обогреватель enders elegance
высота: 2200 мм
3d_export
free
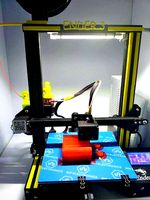
ender 3 frame cavity covers
... of the creality ender 3 - makes it look a bit more attractive it just slides into the open channels of the aluminium framework
turbosquid
$1

pen support for ender 3
...y free 3d model pen support for ender 3 for download as blend on turbosquid: 3d models for games, architecture, videos. (1611282)
3d_ocean
$9
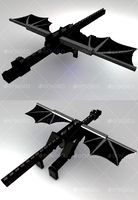
Ender Dragon Minecraft
...ojang obj poly videogames
ender dragon minecraft created with cinema 4d r15 formats included: max 2013 – fbx 2012 – c4d r15 – obj
3d_export
free
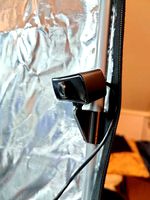
Creality ender enclosure webcam mount
...e creality enclosure. sure is better than a tripod. change it up if it helps. i printed pla with 50% infill on my dd ender 3 pro.
3d_export
free
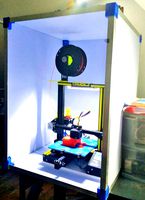
ender 3 enclosure corners
...er corners and 4 upper corners, using 25mmx25mm angled aluminium pieces that gets covered on inside of the frame with plexiglass
3d_export
free
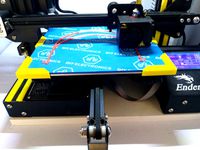
ender 3 3d print bed clips
...ed + normal aluminium bed frame of the creality ender 3 = 6mm (b) these clips are designed for glass plate + aluminium bed = 4mm
3d_export
$5
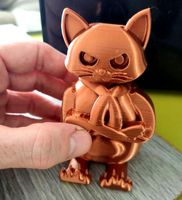
GRUMPY CAT
...grumpy cat 3dexport grumpy cat to print in ender ...
3d_export
$5

Logs fire
...with one multi material for corona and vray r ender. albedo, normal, uvmap, roughness format jpg 4096x4096 models:...
3d_export
$42

excavator
...is the original size. 0.12 mm printing surface creality ender5 ...
Pro
turbosquid
$29
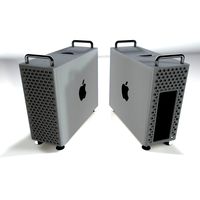
Pro
...ree 3d model mac pro for download as obj, c4d, fbx, and blend on turbosquid: 3d models for games, architecture, videos. (1505782)
turbosquid
$15

Apple Mac Pro and Pro Display
...ee 3d model apple mac pro and pro display for download as max on turbosquid: 3d models for games, architecture, videos. (1417078)
3d_export
$5

iphone 13 pro max and pro
...3 pro max and 13 pro the model is made in four colors (graphite, gold, silver, and blue), all of which are attached in the files.
3d_export
free
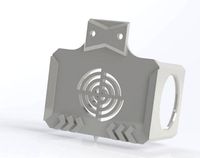
sapphire pro
...sapphire pro
3dexport
sapphire pro 3d printer head mask
3d_export
$4

macbook pro
...macbook pro
3dexport
macbook pro 13" inch 2020 years model
3ddd
free
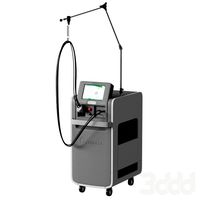
GentleLase Pro
... syneron , candela
gentlelase pro аппарат для лазерной эпиляции
turbosquid
$25

PRO frame
...rbosquid
royalty free 3d model pro frame for download as max on turbosquid: 3d models for games, architecture, videos. (1148329)
turbosquid
$5

Alien pro
...osquid
royalty free 3d model alien pro for download as blend on turbosquid: 3d models for games, architecture, videos. (1678446)
turbosquid
$5

iphone11 pro
...uid
royalty free 3d model iphone11 pro for download as blend on turbosquid: 3d models for games, architecture, videos. (1562707)
3ddd
$1
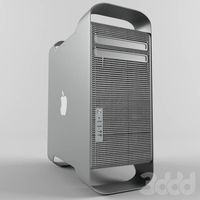
Mac Pro (appel)
...mac pro (appel)
3ddd
компьютер , apple
mac pro
Case
3d_export
$1
case
...case
3dexport
case
archibase_planet
free
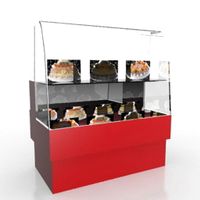
Case
...case
archibase planet
showcase show-case glass case
glass-case + cakes - 3d model for interior 3d visualization.
archibase_planet
free
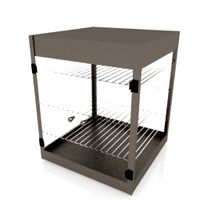
Case
...case
archibase planet
showcase show-case glass case
glass-case for chips - 3d model for interior 3d visualization.
archibase_planet
free
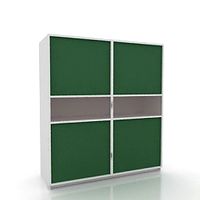
Case
...case
archibase planet
case shelving drawer
case - 3d model for interior 3d visualization.
archibase_planet
free
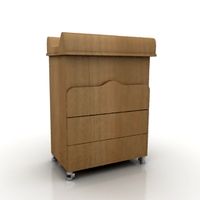
Case
...case
archibase planet
case rack locker
case - 3d model for interior 3d visualization.
archibase_planet
free
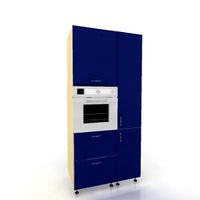
Case
...case
archibase planet
case drawer kitchen furniture
case - 3d model for interior 3d visualization.
archibase_planet
free
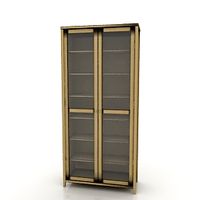
Case
...case
archibase planet
case cupboard shelving
glass case - 3d model for interior 3d visualization.
archibase_planet
free
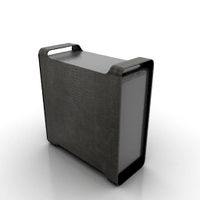
Case
...case
archibase planet
case handbag suitcase
case - 3d model (*.gsm+*.3ds) for interior 3d visualization.
archibase_planet
free
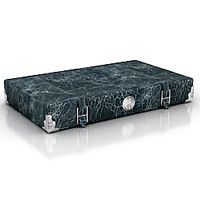
Case
...case
archibase planet
case suitcase
case 5 - 3d model (*.gsm+*.3ds) for interior 3d visualization.
archibase_planet
free
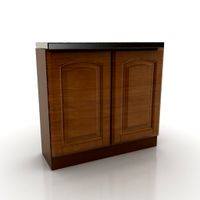
Case
...case
archibase planet
locker case dresser
case - 3d model (*.gsm+*.3ds) for interior 3d visualization.
3
turbosquid
$10
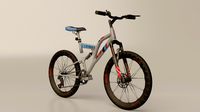
Mountain Bike 3 -3 of 3
...model mountain bike 3 (#3 of 3) for download as fbx and blend on turbosquid: 3d models for games, architecture, videos. (1438752)
turbosquid
$6

Rock 3-3
...urbosquid
royalty free 3d model rock 3-3 for download as obj on turbosquid: 3d models for games, architecture, videos. (1628065)
turbosquid
$29
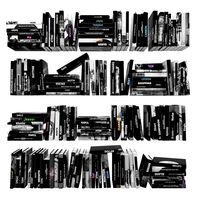
Books 150 pieces 3-3-3
...books 150 pieces 3-3-3 for download as max, obj, fbx, and stl on turbosquid: 3d models for games, architecture, videos. (1384033)
turbosquid
$3

Genesis 3 Clothing 3
... available on turbo squid, the world's leading provider of digital 3d models for visualization, films, television, and games.
3d_export
$5
hinge 3
...hinge 3
3dexport
hinge 3
3ddd
$1
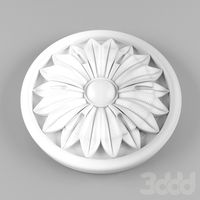
Розетка 3
...розетка 3
3ddd
розетка
розетка 3
turbosquid
$50

is-3
... available on turbo squid, the world's leading provider of digital 3d models for visualization, films, television, and games.
turbosquid
$10
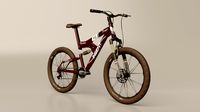
Mountain Bike 3 -2 of 3
...model mountain bike 3 (#2 of 3) for download as fbx and blend on turbosquid: 3d models for games, architecture, videos. (1438750)
turbosquid
$10
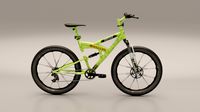
Mountain Bike 1 -3 of 3
...model mountain bike 1 (#3 of 3) for download as fbx and blend on turbosquid: 3d models for games, architecture, videos. (1438743)
3d_export
$5

3 CATS
...3 cats
3dexport
3 cats pen holder
