Thingiverse
Custom DIY Qi Charger Project by sifugreg
by Thingiverse
Last crawled date: 4 years, 6 months ago
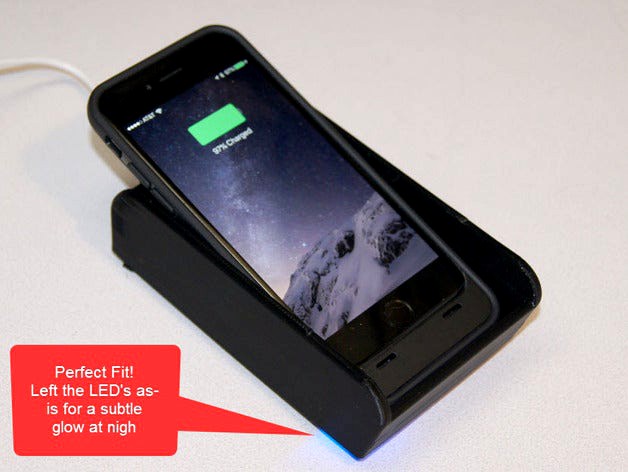
Here is a project born out of a unique set of circumstance. I've been surprised how many people in the 3D community find themselves in the same strange predicaments so I'll post this. It may inspire you. It all started when I purchased a new case for my smart phone. Not just any case, but a Qi chargeable Extra Battery case for my iPhone 6 (see Item One in pictures, links posted below). Now previously, I purchased a Smart & Easy magnetic phone mount for my car. Really slick (see item two). The problem is, that the metal disk for the magnetic holder interferes with the Qi charging capabilities. I was eventually able to find a location low enough on the charger that allowed it to charge in my stand charger (see item 3). The problem was the charger next to my bed just wasn't strong enough to get around the displaced magnetic field. So I decided to make my own. Step 1, make a new coil that aligns to the height and shape of above the magnetic disk encompassing the internal coils. To do this I purchased a DIY charger kit for $8.99 on Amazon. I created the alignment plate, unsoldered and unwound the coil. Wrapped it onto the plate using a layer of contact cement to keep it in place. I re-soldered the coil to the circuit board and used adhesive to mount the circuit board to the back of the plate. The box was designed to accept the plate as the floor, it too, was glued in place with a bead of silicon to pin it down and ensure the edges of the vinyl weren't rough. From there, the USB circuit board was mounted to the back and the feet were printed. The feet have a cup design allowing me to put a daub of silicone rubber in each one and mashing it down with a wet finger created a non-skid foot. It would be a hell of a lot easier to buy the little stick-on feet from the hardware store but I was too lazy to make the run.