Thingiverse
2020 V Rail Hexagon Hot End Carriage Dual Fan BLTouch Mount V1 by timeshell
by Thingiverse
Last crawled date: 4 years, 5 months ago
If you make one, please show us! Especially the dual hot end version please!
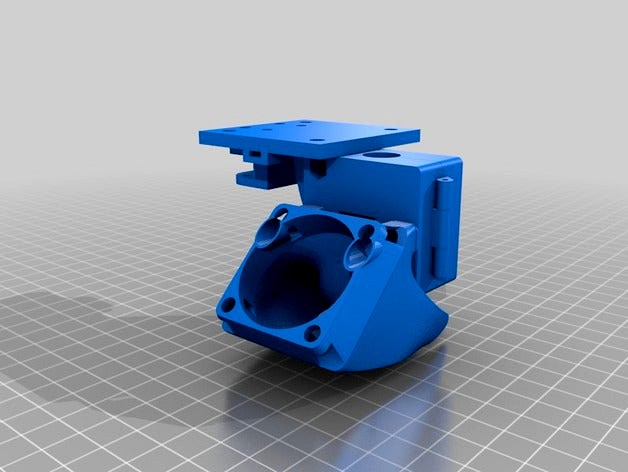
Cobblebot desperately needs a better hotend mount with fans and probe mounts. Here is version 1 I am working on based on the one made by satoer's E3D V5 hotend carriage. I really like this design and hope others will be able to use it, not just on the Cobblebot but any printer using 2020 rails should be able to use it. It uses the FelixE3DV5[fanduct[V2 (why reinvent the wheel?) but the heat sink doors were completely made from scratch around the hexagon.
BLTouch mount has been tested successfully. My Z offset was 1.5mm. Your mileage may vary. There are 3 BLTouch mounts of varying heights available to download.
THIS THING IS FUNCTIONAL AT THIS POINT. I have finished printing all the pieces and am now actively printing with it. The doors are very tight on the heat sink and will probably need to be heated enough to do a final form fit around yours.
UPDATE 2016/01/29: New carriage for dual extruder. No probe attachment. (yet)
Use M4 bolds and nuts to fit together. Use a piece of wire hangar for the hinge pin.
Cobblebot users: You will be able to mount the wheels from the original carriage onto this.
UPDATE 2016/03/24: Carriage V3_B moves the wheels across the rails 1.5mm closer together. The carriage should not be loose. I found V2 for me was just on, but the wheels wore down so that I couldn't make it tight enough. V3 fixes this.
UDATE 2016/04/05: I have put the BLTouch mount A back on and a new C also. Each one differs from the other by 1mm with the tallest to shortest being B, A, C respectively; in the case you have a longer/shorter pin or some other variation requires it.
BLTouch Configuration in Marlin v1.1.0-RC2 (there are changes in 1.1.0-RC4 Z probing that I haven't worked out yet. This config won't work on it. The print head will crash.)
Get the BLTOUCH HERE: http://store.timeshell.ca/index.php?route=product/product&product_id=50
Here is a link for guidance on getting the firmware to save the new autoleveling matrix:http://3dprintboard.com/showthread.php?8064-Saving-G29-Bed-Level-Correction-Matrix-to-EEPROM
In Configuration.h:
1. Invert Z min
const bool Z_MIN_ENDSTOP_INVERTING = false;
2. Enable servo and set endstop angles to the S codes provided by BLTouch:
#define NUM_SERVOS 3
#define Z_ENDSTOP_SERVO_NR 0
#define SERVO_ENDSTOP_ANGLES {{0,0}, {0,0}, {10,90}}
3. Enable AUTO_BED_LEVELING_FEATURE and Z_SAFE_HOMING:
#define AUTO_BED_LEVELING_FEATURE // Delete the comment to enable (remove // at the start of the line)
#define Z_SAFE_HOMING
// Set these appropriately for the size of your printer
// These are set for my Cobblebot basic
#define LEFT_PROBE_BED_POSITION 15
#define RIGHT_PROBE_BED_POSITION 250
#define FRONT_PROBE_BED_POSITION 20
#define BACK_PROBE_BED_POSITION 250
// Set the number of grid points per dimension.
// You probably don't need more than 3 (squared=9).
#define AUTO_BED_LEVELING_GRID_POINTS 4
4. Check your BLTouch sensor offset to your extruder!! (These settings are for the Cobblebot Hotend Mount by Irononreverse on thingiverse)
#define X_PROBE_OFFSET_FROM_EXTRUDER -39 // Z probe to nozzle X offset: -left +right
#define Y_PROBE_OFFSET_FROM_EXTRUDER -22 // Z probe to nozzle Y offset: -front +behind
#define Z_PROBE_OFFSET_FROM_EXTRUDER -1.6 // Z probe to nozzle Z offset: -below (always!)