Thingiverse
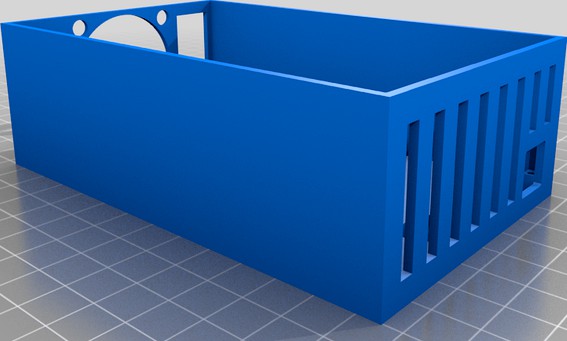
Temperature controller box for 3d printer enclosure by Omdoyas
by Thingiverse
Last crawled date: 4 years, 11 months ago
Hi!
I wanted to have a constant temperature in my 3d printer enclosure. So a friend of mine came up with the idea to use an arduino nano to read the temperature und adjust the fanspeed accodringly.
I had to go over the top and used PID to controll the pwn output of the arduino. This PWM signal is connected to a MOS Module wich drives the 12v dc needed for the noctua fans that i used.
I had to use two dc-dc buck converters to reduce the 24V of my psu to 12V for the fans and to 5V to drive the arduino.
I also included my code for the arduino in the .TXT-File if you want to take a look at it.
But keep in mind that this was my very first project including an arduino, coding and all the other electronics... so its a bit rough :D but it works for me!
I also had to increase the pwm output frequency of the arduino to 31kHz to make the fans run silently as the ramped up in speed.
To mount the box, i drilled some holes in the side of the box and attached it to the underside of the enclosure with some simple 90° brackets.
If you want to modify the raw fusion360 file, i've included it as .f3z.
For mounting the electronics i had to tap the holes first to make the installation easier.
for the psu cables i also had to drill a hole in the side.
components i used:
1x IRF520 driver module
2x LM2596 DC to DC Buck Converter 3,0-40V
1x Arduino nano
1x DS18B20 temperature probe
1x Noctua NF-A4x20 FLX
1x Noctua NF-A8 FLX
M3 screws to mount the electronics