Thingiverse
Shapeoko 2 Raspberry Pi B+ Workstation by Shaputer
by Thingiverse
Last crawled date: 4 years, 7 months ago
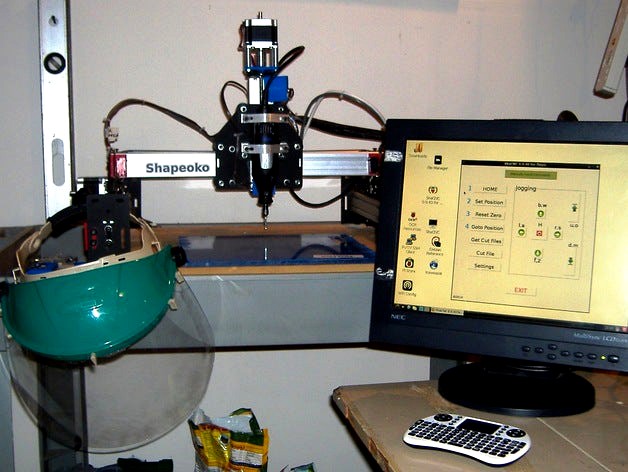
In an effort to make my Shapeoko 2 safe and reliable, I've created this workstation. TGFX and CoolTerm didn't work reliably for me with the TinyG controller so I decided to create a workstation with software that works every time without sudden disconnections or very unfriendly interface. I also made use of an old computer Monitor that I had in the closet that makes a very good screen.
I used the very good designs of these two people in the construction of this work station:
http://www.thingiverse.com/thing:396858
And a modified version of this part to install the NEMA 23 motor to the Z axis. To only change I made was to remove the posts. They were too short for my application. and added 3 spacers on the other side of the bracket to eliminate those awful little washers that Inventables have you using for installation of the Z Axis Motor. They are very hard to manage.
http://www.thingiverse.com/thing:269745
The GUID based program I wrote for the Raspberry Pi was done in Gambas3. I also wrote a text version that can be run from the command prompt is just a big shell script. Both programs feature jogging via the keyboard. The GUI version allows for 1mm jogging increments also. All the instructions and files are located in the link below. Feel free to improve on it. I know someone can make this really awesome, like provide feedback window of the machines positioning..... You may find the commands I use to control the TinyG are odd, but this was the only way to make it work flawlessly every time. I am very satisfied with my workstation's performance. I've created the circuit board posted here using this setup. The Synthetos documentation didn't always work on my TinyG. To save time I just worked around any issues.
http://www.shaputer.com/tinyg