
Thingiverse
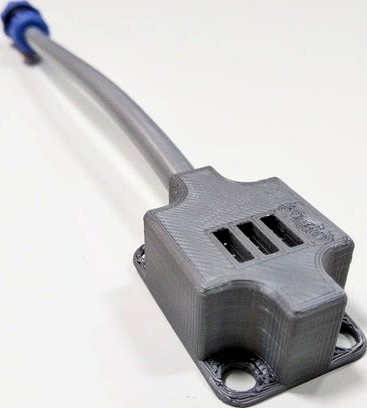
Servo interface by LeoRover
by Thingiverse
Last crawled date: 5 years, 2 months ago
Let me introduce you to a universal servo interface dedicated for Turtle Rover platform. We have designed it for a standard servo plug. It’s compatible with singular goldpin connectors, too. It’s made as a universal controlling interface for any robotic project using up to 3 servos.
Things you need:
4x M5x10,
12x Goldpins (https://www.tme.eu/gb/details/2ph1-40-ua/pin-headers/adam-tech/),
5 core cable ,
1x plug (https://www.tme.eu/gb/details/sp1310_p9/weipu-connectors/weipu/sp1310p9i/)
3D printed:
Base(4001) x1,
Cover(4000) x1
Tools:
You need a soldering iron
Firstly, remove the parts from their support. Prepare 3 bars with 3 goldpins. Plug them into each socket. Solder them from the opposite side, according to the scheme in the photo.You can connect 3 pins of ground and positive, putting goldpins horizontally and soldering them together. Connect the base to the cover.
Now you can enjoy your own up to three servos project the simpler way!
Things you need:
4x M5x10,
12x Goldpins (https://www.tme.eu/gb/details/2ph1-40-ua/pin-headers/adam-tech/),
5 core cable ,
1x plug (https://www.tme.eu/gb/details/sp1310_p9/weipu-connectors/weipu/sp1310p9i/)
3D printed:
Base(4001) x1,
Cover(4000) x1
Tools:
You need a soldering iron
Firstly, remove the parts from their support. Prepare 3 bars with 3 goldpins. Plug them into each socket. Solder them from the opposite side, according to the scheme in the photo.You can connect 3 pins of ground and positive, putting goldpins horizontally and soldering them together. Connect the base to the cover.
Now you can enjoy your own up to three servos project the simpler way!