Thingiverse
Raspberry Pi headless server case
by Thingiverse
Last crawled date: 5 years, 3 months ago
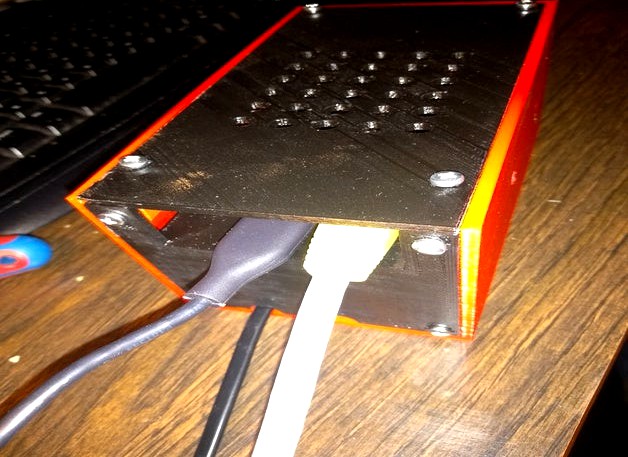
This is a case for a raspberry pi 3 or 4 (but it is easy to make own holders for it to adapt to different sized pi's) It is unique as it is intended for headless server use of the pi, so no screen connected to HDMI ports and acces the pi through SSH/SAMBA/FTP/etc.
First to install is the powersupply. Instead of an external power supply, the powersupply is integrated in the case. I use the 5V 4A switched power supply as commonly available on ali-express etc. It gives enough juice for the pi and and some USB devices. But it is also possible to fit in a smaller power supply. The supply is mounted with one 3mm bolt and nut on the fan side. On the front side it is hold into position by either another 3mm bolt/nut but I commonly leave it out as it is difficult to fit in the power supply and the power cable lock will make sure the supply stays in place.
Connect the power cable (there is also a hole for 6mm switches to power on/off)) and the 5V cable for the pi. I power the pi via the I/O connector, not the USB connector, you have to make a cable with a female connector for that. I make one with 3 pins only (2x5V and 1 Ground)
Next the 40x40x10 5V fan is mounted and the power cable of the fan added to the 5V output of the supply.
The pi is mounted with 4 2.5mm bolts onto the holders, USB/Ethernet facing front so they can be accessed (Letters will be on the fan side, which is the back). The unique thing is the holders have two pins. Once mounted on the holders the set is pushed into place (the four holes in the side of the box) untill it clicks into position. Note you will not be able to reach the power-supply's connector anymore (without removing the pi again) to tighten or loosen the screws so make sure the cables are mounted correctly
Once all is in position you can mount the lids. Do not forget to install the cable lock with two small screws. There is a 2nd hole for cables so you can chain boxes, rather than having to connect each one of the boxes to a power outlet. Or you can output a 5V cable. Just make sure to once again mount a cable lock.
needed:
1x 5V 4A power supply
1x power cord
8x M3 melt-in nuts (5mm)
8x M3 bolts (6mm)
4x M2,5 bolts (10mm) and nuts
2x M3 bolt (6mm) and nut to mount power supply (1 optional)
1x 6mm power switch (optional)
1x 40x40x10mm 5V fan (optional)
3-pin female connector
Wires (suggested: red 10cm, black 10cm)