Thingiverse
OpenScan Pi-edition Diffusor/Polarizer by aharbick
by Thingiverse
Last crawled date: 4 years, 3 months ago
The OpenScan pi-edition doesn't include a version of the diffusor that includes the linear polarizing film as you can see in the last two pages of this guide: https://f86f3340-fde8-4577-a319-4f2c4f699e69.filesusr.com/ugd/953640_106938bb8b8f46f28969e2d55024bd1d.pdf
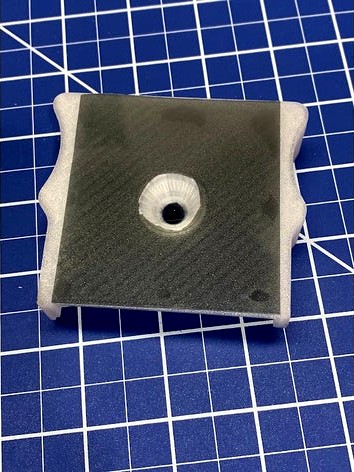
I modified the diffusor in this project so that it had the extra space and conical indent so that you can attach linear polarizing film.
This is the film that I bought: https://www.amazon.com/gp/product/B06XWXRB75
As I was trying to understand the mechanics of how this work I took a variety of iterations which you can see in the final picture that is uploaded. The instructions in the OpenScan mini above didn't indicate that you need to cut a hole in the front sheet of film (if you're a careful observer this is obvious from the image). If you don't do that you end up with two orthogonal pieces of film on top of each other which effectively blocks all of the light.
The comparison image shows:
Just the default diffusor
The default diffusor with a piece of polarizing film over the entire face.
My modification assembled correctly (with a piece of film over the ring light with a hole over the lens and a piece of film over just the lens)
My modification assembled incorrectly (with a full piece of film over the right light and a piece of film over the lens... e.g. double film)
I haven't played with my results too much, but it seems like it should be useful for surfaces that are shiny (even if you don't have scanning spray)
NOTE about the images... The 4th and 5th image show the original diffusor to compare it to the modified one. The 8th (last photo) image is an example of the incorrect way to put on the exterior film.