Thingiverse
Open Source Yoyo by andimoto
by Thingiverse
Last crawled date: 4 years, 9 months ago
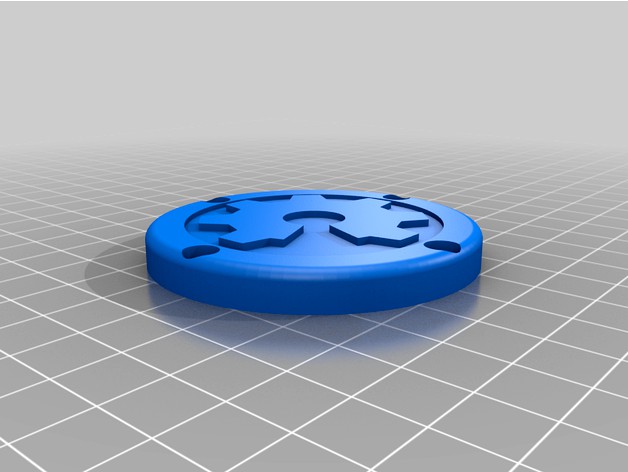
This is a Yoyo with the logos of the Open Source Initiative and Open Source Hardware.
More Themes and the OpenSCAD file can be found in my github repo:
https://github.com/andimoto/theme-yoyo
Note: printing takes about 12 hours on Prusa Mini. It is very easy to design your own Yoyo with a custom graphic on it!! Just checkout the repository.
Printing
print ThemeBase on flat surface (graphic up)
do color change at the graphic to separate it from background
enable ironing on top layers the get a nice finish
print resolution 0.1mm
use PETG for stronger parts (of course PLA is also possible)
Parts
printed YoYo Parts (2x yoyoBase_xmm.stl, 2x YoyoThemeX.stl)
one M3x20 screw with M3 nut for Axis
8 M3x6 screws (cylinder head screw)
2 O-Rings 15x2.5mm
R188KK Bearing
Cord (there are ready Yoyo Cords, relatively cheap)
Assembling
place the bearing onto the center of the yoyo base
place the o-ring in both yoyo bases
put both yoyo bases together (may be necessary to press them carefully together)
they should be holded together by the bearing
screw both yoyo bases together with the M3x20 screw (do not overthight the axis)
screw the theme parts on top of each base carefully (do not overthight them)
tip: measure the weigth of the theme parts and balance them out with small parts of filament
which you can place into the furrow/gouge which are extra made for weigth balancing
maybe the yoyo needs to be weared in some minutes