Thingiverse
My Variation on the Voxel Ox by awinn17
by Thingiverse
Last crawled date: 4 years, 7 months ago
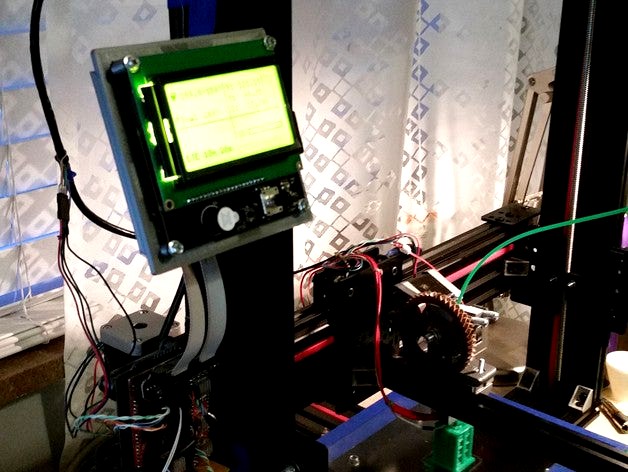
This is my variation on the Voxel Ox (http://www.openbuilds.com/builds/voxel-ox-extendable-3d-printer-and-cnc-platform.2418/). I liked their concept of an easily extendable/expandable printer with rigid connections.
The modifications I made are pretty much only to suit standard length parts from Open Builds.
1) The X-Gantry is attached to the back of the vertical-travel Z plates via one corner connector each
2) The top brace is a sideways 20x40 (the 40 in the up/down direction) with motors mounted on top. This allows full length lead screws to be used.
3) Lead screw nuts are mounted to the vertical-travel Z plates. Since the nuts were not tapped perfectly square, the right one is mounted in the middle while the left one is mounted a little further to the rear. Furthermore the motors are moved forward or backward in their slotted holes to help reduce binding.
4) The extruder is mounted 90 degrees to the X-plate. It's attached to a 250mm 20x20 with two corner connectors for each hole in the extruder platform. The 20x20 is attached to the X plate with two corner connectors, one on left, one on the right.
5) I don't have a reel mount solution yet, so my reel sits on the very top, using a clamp for a shaft. the extruder can pull it, but I usually wind some out to help reduce the extra pull on the extruder.
It's a work in progress, but it works pretty well so far for me. I'm starting to get some good prints.
I can post more pictures if you just tell me what you need to see.