Artstation
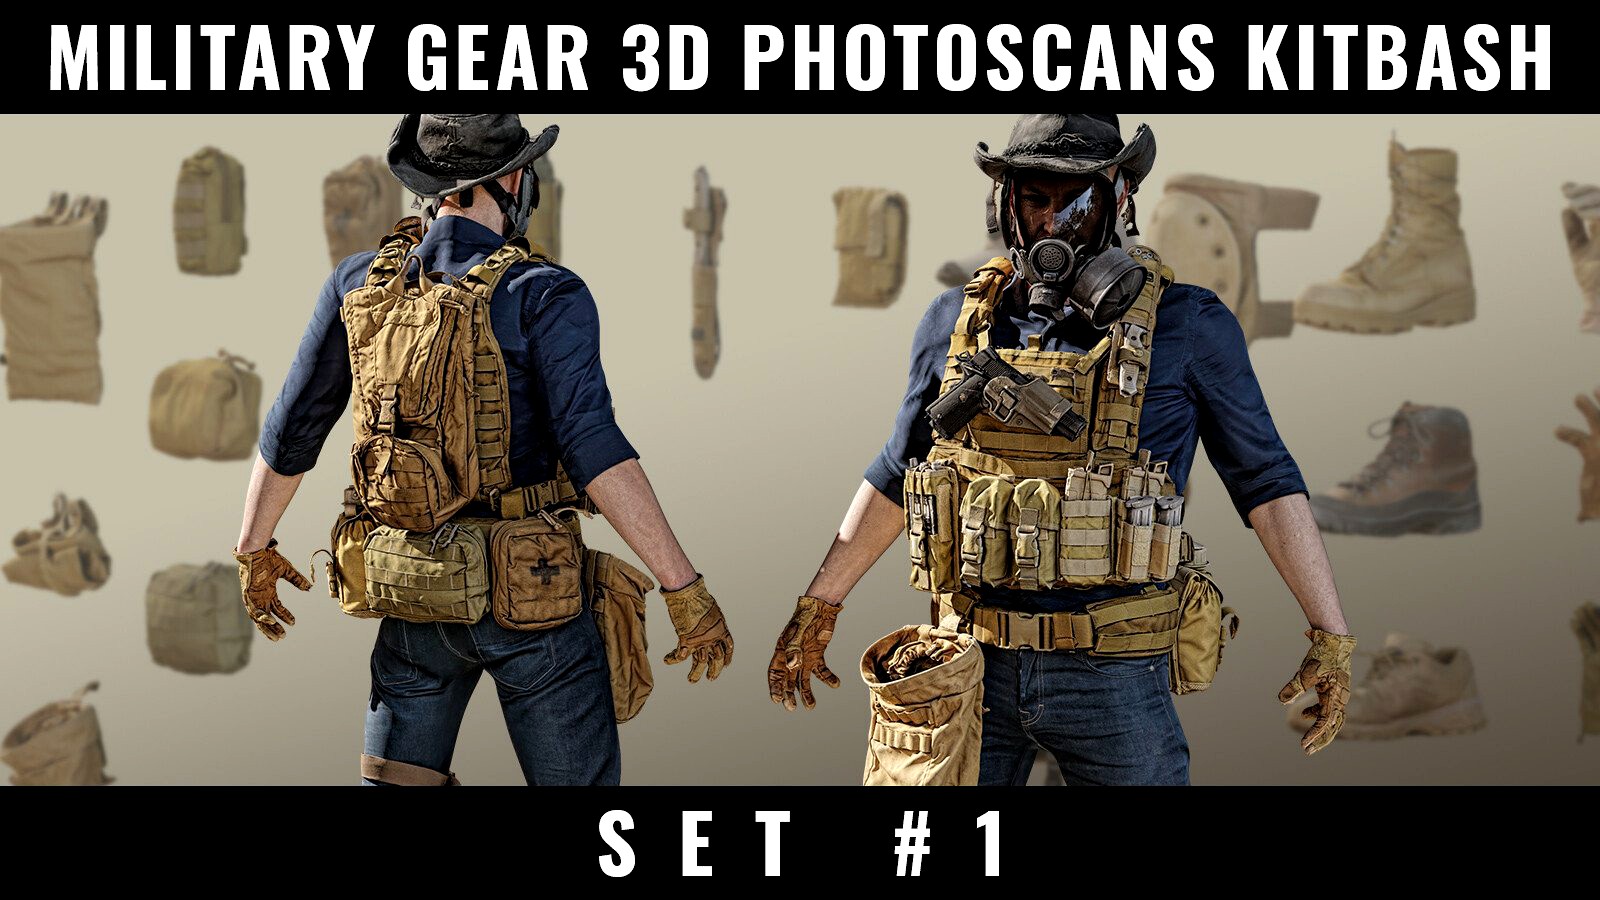
MILITARY GEAR 3D PHOTOSCANS KITBASH - SET #1
by Artstation
Last crawled date: 1 year, 7 months ago
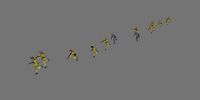
This kitbash pack contains photoscanned 3d models of military gear. It could be used by concept artists and illustrators to create cool and realistic military characters. It could be useful also for 3D artists as base or reference.
At the beginning I would like to warn you that these 3D models have been made using photogrammetry and they are not optimized nor refined very much. They could contains some imperfections like holes, defects on textures and surfaces etc. (but not on critical areas). There are 2 textures for each mesh: diffuse and normal map.
If you know basics of Blender and have a medium powered PC (good graphics card is important) you should be able to use this pack.
This package will be expanded if it gets enough interest. Buying now you getting a chance to download possible future updates for free (the price of the pack will be raising with adding new gear).
All 3D models and textures are placed in a one Blender file. There are 3 versions of each 3D model: LOW, MID and HIGH poly. Only the collection with MID-POLY versions is turned on as default (for better loading on weaker computers). If you will need other versions, LOW or HIGH just turn the propper collection on in the Blender outliner.
=============
You can see the example conceptart that I've created (using this method) on one of the images above.
1. You can start with:
a) Simple mannequin that I delivered as a base
b) A character from another source as a base. For example Daz3D software. It's free but you have to pay for a good 3D asset like human body or clothes (usually not very high amount). Next you have to export it to Blender using "Daz to Blender bridge".
2. Next you can configure the outfit and gear of the character in Blender using photoscanned models from the pack.
Sometimes you have to use Blender tools like sculpting or transforms to adjust precisely all elements to your character mesh. Sometimes it'is not bad idea to modify materials.
3. Set up the camera and lighting in Blender and render.
4. Overpaint your character in 2D software.
1. You can set up the lighting, camera for a single element that you need (like a pouch, helmet or vest) from the pack.
2. Copy/paste rendered image to your concept art / illustration in 2d software. Something like photobash but always with propper lighting and perspective :)
Similar models
3dbaza
$6

110 Practical and Unique Low-Poly Tombstones + 110 Base mesh Tombstones (Full Pack) - Vol 1 (181628)
...alloween scene or games & animations & etc... in stylized or realistic.<br>more information in the full description
artstation
$65
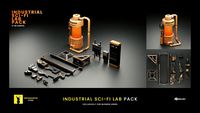
Industrial Sci-Fi Lab Pack
...ption for using the pack.<br>it can be used in a studio or for personal use for an unlimited number of commercial projects.
artstation
$28
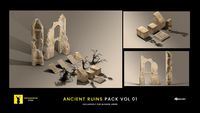
Ancient Ruins Pack Vol 01
... for an unlimited number of commercial projects.<br>in this animation, the pack was used to create the ruins of dol guldur.
artstation
$4

CGSphere Crystal Kitbash
... kitbash<br>32 crystals<br>this pack helps you to create environments that need crystals<br>all models have uvs
artstation
$5
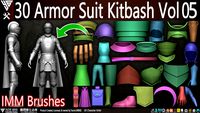
30 Armor Suit Kitbash Vol 05
...t;we truly appreciate your business and look forward to serving you again.<br>3d character artist<br>standard license
artstation
$30
Building Kitbash Pack
...<br>what you get:<br>6x buildings (textured)<br>1x example scene<br>note:<br>.blend &obj format
3d_export
$30

Sword Ice Winter Military Low-poly
...like it ! thanks for purchase!<br>[video=https://skfb.ly/ovxz8]<br>[video=https://www.youtube.com/shorts/uyw01wwuwno]
artstation
$3
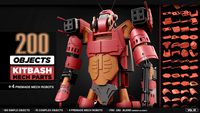
200 Objects - MECH PARTS - KITBASH - VOL 01
...s product hasn't uv.<br>hope you like it.<br>kitbash - mech parts - vol 01:<br>---<br>other products:
artstation
$5
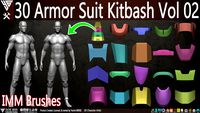
30 Armor Suit Kitbash Vol 02
...t;we truly appreciate your business and look forward to serving you again.<br>3d character artist<br>standard license
artstation
$5
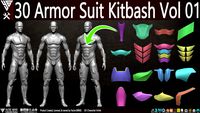
30 Armor Suit Kitbash Vol 01
...t;we truly appreciate your business and look forward to serving you again.<br>3d character artist<br>standard license
Photoscans
turbosquid
$11

Photoscanned Trunk
...id
royalty free 3d model photoscanned trunk for download as on turbosquid: 3d models for games, architecture, videos. (1696221)
turbosquid
$5

Photoscanned Bollard
...
royalty free 3d model photoscanned bollard for download as on turbosquid: 3d models for games, architecture, videos. (1277938)
turbosquid
$10
Bread (Photoscan)
...oyalty free 3d model bread_01 (photoscan) for download as max on turbosquid: 3d models for games, architecture, videos. (1223156)
turbosquid
$2
Rock Photoscanned
...y free 3d model photoscanned rock for download as c4d and obj on turbosquid: 3d models for games, architecture, videos. (1595959)
turbosquid
free
Manhole Photoscanned
...odel manhole photoscanned for download as blend, obj, and stl on turbosquid: 3d models for games, architecture, videos. (1673001)
turbosquid
$139
Barn Photoscanned
... available on turbo squid, the world's leading provider of digital 3d models for visualization, films, television, and games.
turbosquid
$3
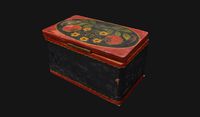
Casket red photoscan
...
royalty free 3d model casket red photoscan for download as on turbosquid: 3d models for games, architecture, videos. (1252294)
turbosquid
$4

Two Photoscanned Rocks
...alty free 3d model two photoscanned rocks for download as obj on turbosquid: 3d models for games, architecture, videos. (1557328)
turbosquid
$189
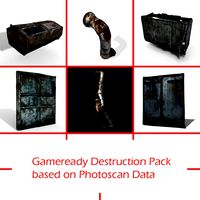
Destruction Pack (Photoscans)
...struction pack (photoscans) for download as max, obj, and fbx on turbosquid: 3d models for games, architecture, videos. (1195171)
turbosquid
$99

Containers Pack (Photoscans)
...containers pack (photoscan) for download as max, obj, and fbx on turbosquid: 3d models for games, architecture, videos. (1195153)
Kitbash
3d_export
$5

war kitbash
...war kitbash
3dexport
kitbash included sword, spear, shield, knife, helmet, an axe for war
turbosquid
$10

Kitbash Droid
...3d model kitbash droid for download as max, 3ds, fbx, and obj on turbosquid: 3d models for games, architecture, videos. (1616250)
3d_export
$5

stylized environment kitbash vol1
...zed environment kitbash include of : - 88 part - fbx -blender file ( version 2.92 and scene , kitbash ) - unwrap - texture ( 1k )
turbosquid
$10

KitBash pack 0.5
...
royalty free 3d model kitbash pack 0.5 for download as blend on turbosquid: 3d models for games, architecture, videos. (1435230)
turbosquid
$10

KitBash pack 0.3
...3d model kitbash pack: postmodern house for download as blend on turbosquid: 3d models for games, architecture, videos. (1414046)
3d_export
$17

scifi kitbash
...scifi kitbash
3dexport
a collection of various parts, designed to build futuristic vehicles, buildings, machines,...
3d_export
$10
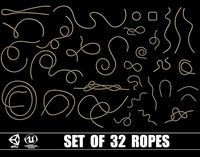
Set of 32 Ropes Kitbash
...set of 32 ropes kitbash
3dexport
turbosquid
$29
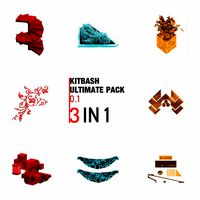
Ultimate kitbash pack 0.1
...
royalty free 3d model ultimate kitbash pack for download as on turbosquid: 3d models for games, architecture, videos. (1414058)
3d_export
$5

awning kitbash collection
...awning kitbash collection
3dexport
vray & corona obj max 2016
3d_export
$5

awning kitbash 02
...awning kitbash 02
3dexport
vray & corona obj max 2016
Military
3d_export
$20
military
...military
3dexport
ancient greek military cnc router ant cnc 3d printer model
turbosquid
$250
military
... available on turbo squid, the world's leading provider of digital 3d models for visualization, films, television, and games.
turbosquid
$25

military
... available on turbo squid, the world's leading provider of digital 3d models for visualization, films, television, and games.
3d_export
$80

forklift military
...forklift military
3dexport
forklift military<br>an excellent high poly version of a military 6000lbs forklift.
3ddd
$1
Eichholtz Military
...holtz , military
кофейный столик eichholtz military
артикул 105508
габариты 65х65х50h см
3d_export
$65

military
...military
3dexport
simple rendering of the scene file
3d_export
$65

military
...military
3dexport
simple rendering of the scene file
3d_export
$65
military
...military
3dexport
simple rendering of the scene file
3d_export
$65

military
...military
3dexport
simple rendering of the scene file
3d_export
$65
military
...military
3dexport
simple rendering of the scene file
Gear
3d_ocean
$4
Gears
...gears
3docean
gear gears iron
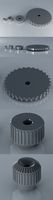
4 different size of gears
3d_export
$5
gear
...gear
3dexport
gear
3d_export
free
Gears
...gears
3dexport
gears
3d_export
$5
gear
...gear
3dexport
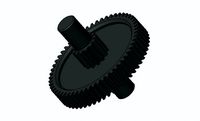
a simple model of gear
3d_export
$5

gear
...gear
3dexport
gear for transmission , case machine
3d_ocean
$3
Gears
...nical parts process steampunk vehicle wheel work
10 different gear models volume 01-10 files: .3ds .c4d .obj note: you need vray
3d_ocean
$1

Spur Gear
...spur gear
3docean
decoration gear
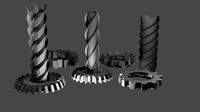
a typical spur gear
3d_ocean
$4
Gear wheels
...gear wheels
3docean
engine engineering gear gears industry machinery mechanical toothwheel wheel
pair of gear wheels : animated.
turbosquid
$9
Gear
...gear
turbosquid
royalty free 3d model gear for download as on turbosquid: 3d models for games, architecture, videos. (1712328)
turbosquid
$2

Gears
...rs
turbosquid
royalty free 3d model gears for download as ma on turbosquid: 3d models for games, architecture, videos. (1166710)
Set
archibase_planet
free
Setting
...setting
archibase planet
setting cover place setting
setting - 3d model (*.gsm+*.3ds) for interior 3d visualization.
archibase_planet
free
Setting
...setting
archibase planet
setting place setting cover
setting - 3d model (*.gsm+*.3ds) for interior 3d visualization.
archibase_planet
free

Setting
...setting
archibase planet
setting place setting cover
setting - 3d model (*.gsm+*.3ds) for interior 3d visualization.
3d_export
$8
decorative set mens set
...decorative set mens set
3dexport
decorative set men's set
archibase_planet
free
Set
...anet
set kitchen ware kitchen set kitchen tools
set kitchen tools n281114 - 3d model (*.gsm+*.3ds) for interior 3d visualization.
archibase_planet
free
Set
...set
archibase planet
beer set bar equipment
beer set - 3d model for interior 3d visualization.
archibase_planet
free
Set
...set
archibase planet
cover place setting
set - 3d model (*.gsm+*.3ds) for interior 3d visualization.
archibase_planet
free
Set
...set
archibase planet
kitchen set kitchen ware
set - 3d model (*.gsm+*.3ds) for interior 3d visualization.
archibase_planet
free
Set
...set
archibase planet
set cup glass kitchen ware
set - 3d model (*.gsm+*.3ds) for interior 3d visualization.
archibase_planet
free
Set
...set
archibase planet
flatware cover place setting
set n311210 - 3d model (*.gsm+*.3ds) for interior 3d visualization.
1
turbosquid
$69

armchairs(1)(1)
... available on turbo squid, the world's leading provider of digital 3d models for visualization, films, television, and games.
turbosquid
$15

ring 1+1
... available on turbo squid, the world's leading provider of digital 3d models for visualization, films, television, and games.
turbosquid
$10

chair(1)(1)
... available on turbo squid, the world's leading provider of digital 3d models for visualization, films, television, and games.
turbosquid
$8

Chair(1)(1)
... available on turbo squid, the world's leading provider of digital 3d models for visualization, films, television, and games.
turbosquid
$2

RING 1(1)
... available on turbo squid, the world's leading provider of digital 3d models for visualization, films, television, and games.
turbosquid
$1

house 1(1)
... available on turbo squid, the world's leading provider of digital 3d models for visualization, films, television, and games.
turbosquid
$1

Table 1(1)
... available on turbo squid, the world's leading provider of digital 3d models for visualization, films, television, and games.
turbosquid
$59

Formula 1(1)
...lty free 3d model formula 1 for download as max, fbx, and obj on turbosquid: 3d models for games, architecture, videos. (1567088)
design_connected
$11

No 1
...no 1
designconnected
sibast no 1 computer generated 3d model. designed by sibast, helge.
turbosquid
$2

desert house(1)(1)
...3d model desert house(1)(1) for download as 3ds, max, and obj on turbosquid: 3d models for games, architecture, videos. (1055095)