Thingiverse
iAqua_O2surplus board by solidworks3dguy
by Thingiverse
Last crawled date: 4 years, 5 months ago
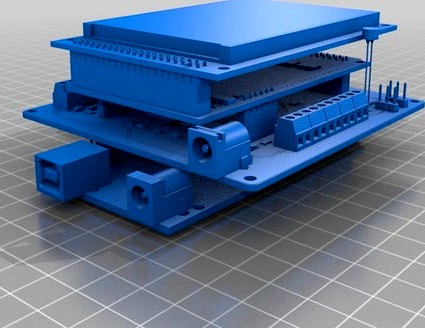
I found a project "iAqua" I wanted to make on the planted tank forum, so to assist me in both making the board and later in making a case for it, I make this thingi. It's an accurate model of the board made by pulling data from Eagle and various other sources.
Some of the SMD components are the wrong package (standard and not the wide versions in O2surplus' BOM) but for a basic visualization, it's adequate.
For now this is a work in progress, over the next few days I will include a digi-key BOM with the parts I used (some of the originals were out of stock) and links to where I found the remaining items, not sold on digi-key.
As of now, I have not been able to get the auto-dim to work (pin 8 on Arduino with the corresponding resistor and transistor). The TFT uses a ground on it's pin 19 to turn off the LED backlight, and the circuit "as-is" looks like it's set up for a positive to be supplied to this pin..... still working on a solution and input would be appreciated, I will update this if/when a solution is found.
I exported this as a T_X file to simplify things and make it universal to all CAD programs I use. Simply import or drag and drop into your CAD program and an assembly should/will be auto-generated, the STL is more there to allow this to publish as it would not with only the X_T.
7/30/18- Added all Library files I have on my pc. Many are sure to not be used, but until I sort out which are needed, this should ensure the program at least compiles for you. Also, auto-dim feature is figured out, PCB needs to be reworked to slightly for this feature. Please contact me if you wish to make the board, or know how to edit the files.
8/31/18- Added a 3D .PDF of the TFT Shield (works for me in Adobe Acrobat 9.0) This is to help with rewiring the touch screen and for the backlight if doing this project on a bread board or with the existing PCB.
** Depending on your set up, the mouse controls for the PDF are as follows: Right button rotates. Left can be used to hide parts, useful in future updates (Part options). Left and Right will pan the object. Wheel to zoom in and out.