Thingiverse
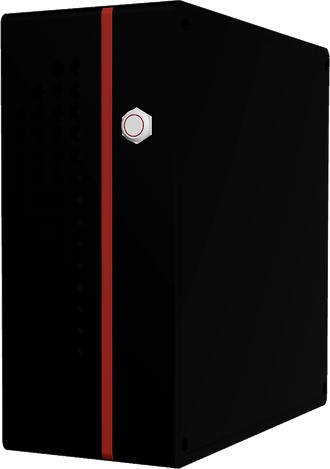
HTPC - pfSense mini-ITX case: picoPSU & PCI-E & SATA SSD
by Thingiverse
Last crawled date: 5 years, 10 months ago
Small factor, clean design with nice extras thought for a pfsense machine:
12mm through-hole power button support
picoPSU DC jack support
SATA SSD support
PCI-E 4 nics ethernet support (LOW PROFILE ONLY)
Optimal airflow (top, front and back air grids)
Clearance for low power embedded CPUs like J1900, J3455, j4105, etc..
You will need:
n.8 m3(d)x4(h)x5(D) brass inserts (4 for the lid, 4 for the mainboard standoffs);
You can superglue or hot melt them in the case
n.12 m3x10 screws (as above but 4 more for the SATA SSD)
superglue for assembling the inlay
The hole for the power button is 12mm. The hole for the picoPSU DC jack is 8mm (standard).
N.B.
The case.stl is a massive print. Mine took almost 48h.
Ender 3 bed size (235mmx235mm) is enough but be sure to have the right XY offsets configured otherwise you will not be able to print it.
Print largest face flat
Supports: above 46% (no supports on frontal grid holes and lid stands)
Be aware that the case could warp on a poorly sticking surface. Use hot first layer tool and bed temp and use brim for better adhesion.
Be gentle when inserting the io shield since one side of its support is quite fragile