Thingiverse
HICTOP Calibration Upgrade Version 1 by chaoren
by Thingiverse
Last crawled date: 4 years, 11 months ago
This includes a PDF with explanations on how to use HICTOP Heat Bed Calibration upgrade. Please review PDF.
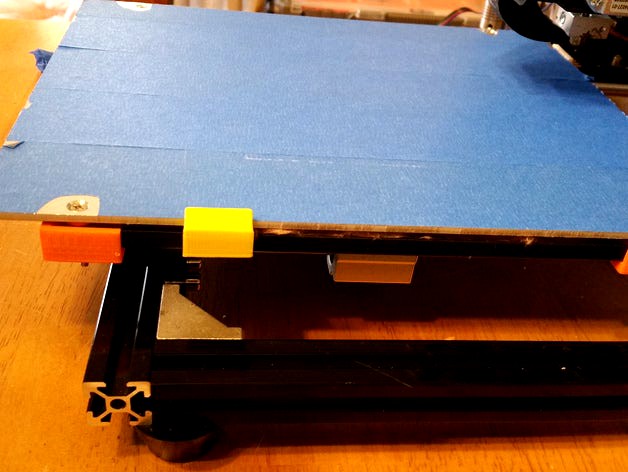
First Print out and install parts per HictopCalibrationUpgrade.pdf
Video Explaining Calibration: https://youtu.be/tbJR79cXqGM
Run ABS_Calibration – Final.gcode to calibrate bed at temperature before printing. When nozzle moves to the front left and heating starts, wipe your nozzle of any filament material as it will corrupt your efforts to calibrate.
Once the bed has reached 85deg and the nozzle has reached 240deg, Press the button and the calibration will start in the front left of bed. When it stops. Using a regular piece of paper; adjust the screw where the paper slides with a little tension between the nozzle and the heat bed using a #2 Philips screwdriver (Remember the metal from the screwdriver will sink some heat, so remove the screwdriver in between adjustments for accuracy. [I Plan to develop a printable screwdriver for this task, but it is not necessary]). You also want to be able to slide the paper under the nozzle without much resistance. Press the button to go to next corner. The calibration will cycle through each corner 4 times. If on your 3rd cycle you do not have to adjust. Just press the button until the calibration routine ends. If after four time you need to adjust more, just run the Run ABS_Calibration – Final.gcode again.
Your ultimate goal is to go through all four corners with out having to adjust any of them. If you use this and add the Auto Calibration in the HICTOP using Code G29 in Cura's StartUp as recommended by Hictop, you should get the best print possible. After calibration Nozzle and Heat Bed will stay at calibration temperatures. This will help ensure the best leveling before your following print. It is important to calibrate at the temperatures you will be printing at.
If you want to run at different temperatures, just open Run ABS_Calibration – Final.gcode in Apache OpenOffice https://www.openoffice.org/ to edit locations:
;HEATUP BED AND NOZZLE
M104 S240.000000 ;Nozzle Set to 240Deg Don't Wait
M190 S85.000000 ;HeatBed Set to 85Deg Wait for temp.
M109 S240.000000 ;Nozzle Wait for temp.
M0 ;Wait for user to wipe nozzle and start Calibration
M104 & M109 are your settings for your nozzle, M190 is for your Bed. The numbers after the S, 240 and 85 are the numbers you change. When you save changes in OpenOffice, leave formatting intact.
Included is a Calibration For PLA if your Settings are the same. Bed Temp = 70, Nozzle = 180
I will be updating this with a new configuration once I get the parts from HICTOP. I also plan t make a video. I will update when I make it.
Enjoy,
JLB