Thingiverse
First Layer Zig-Zag Calibration by franzbischoff
by Thingiverse
Last crawled date: 4 years, 1 month ago
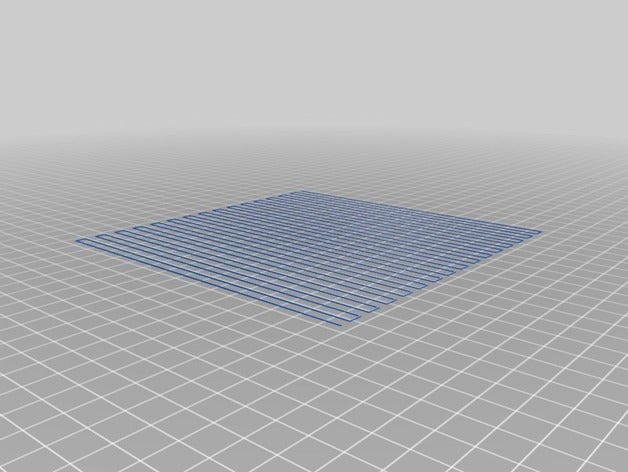
This is a simple zig-zag to allow a visual calibration of first layer. This has the same purpose of the V2_Calibration.gcode that comes with Prusa's. Check Prusa's Video.
This have more zig-zags to allow you to keep tuning until you are satisfied, and has a vertical path so you can visualize it better when you have only a frontal approach to the printer (like me).
The model lines have 0.4mm width and 0.2mm height, so you may have to proper set the slicer to detect them correctly. I'm using Slic3rPE but I think other slicers can reproduce the settings.
Some settings are there just for precaution but I suggest to keep them as described:
Enable detect thin walls to avoid glitches.
Use 0.2mm layer height for first and other layers, so it will slice ok.
Check layer width, set all to 0.4mm.
Set Vertical shells Perimeter to 1.
Disable skirt, you will not need that.
I suggest using lower speeds to print this file, as the intention is to look at it an judge if the layer is being correctly extruded.