Thingiverse
DS0138 Digital Oscilloscope Case by idskot
by Thingiverse
Last crawled date: 4 years, 8 months ago
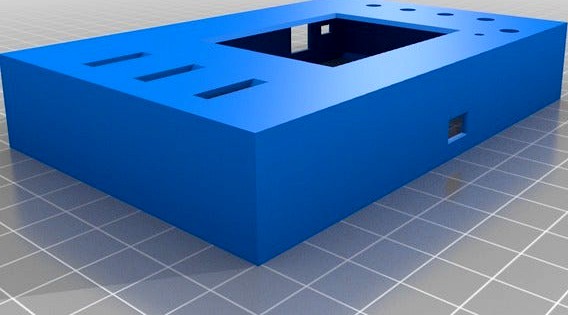
This is a casement I designed for the DS0138 digital oscilloscope. It's a cheap one channel O-Scope which comes with just a circuit board and leads, and nothing else. This case makes it look nice and gives it some protection.
The original board has a protruded LCD board, with the buttons and switches mounted on the main board, so they're recessed from the face. I wanted a flat case, so there are caps printed out which slide on top of the buttons/switches.
A fair warning, they could be frustrating to install. I used some petroleum jelly (I actually used Burt's Bees hand cream, but you can use anything that has some tackiness to it just to hold the buttons and switches in place for a bit as you put the top case on.) I then used a small screw driver to move the switches and buttons into place from the top face of the case. But once the board is sitting inside of the top case, the buttons and switches work well and don't rattle around at all.
On the one I currently have, I didn't glue the bottom portion in. It's sort of just interference fit for now. I designed it to be glued, so if you want to use some super glue the case should fit together and never come apart.
There are two top cases! One just has a slot for the DC barrel plug. The other has the DC barrel plug hole, as well as an additional hole next to it to allow wires to be plugged onto the power inlet of the board. The types of wires it's designed for are the colorful jumper wires that have the rectangular black ends (similar to: https://www.kitronik.co.uk/media/catalog/product/cache/1/image/9df78eab33525d08d6e5fb8d27136e95/c/4/c4128_large_jumper_wires_20cm_m-f_pack_10.jpg) Although you can use any wire you want. This is in case you want to use an external power supply that doesn't have a barrel connector.
In the future I might edit the bottom part so you can affix a stand to angle it for easy viewing while you're measuring stuff. And/or ability to mount two in tandem to get "two-channels".
Here's a little video I made going through it and showing how it looks. (Note: The back of the case isn't on, so I accidentally flexed the case and was holding down a button. When the back affixed properly, the case doesn't flex and this isn't an issue):https://www.youtube.com/watch?v=ggS3I4GBoy0