Thingiverse
Dreamer Modifications for Hatchbox Spool by celerpulsus
by Thingiverse
Last crawled date: 4 years, 7 months ago
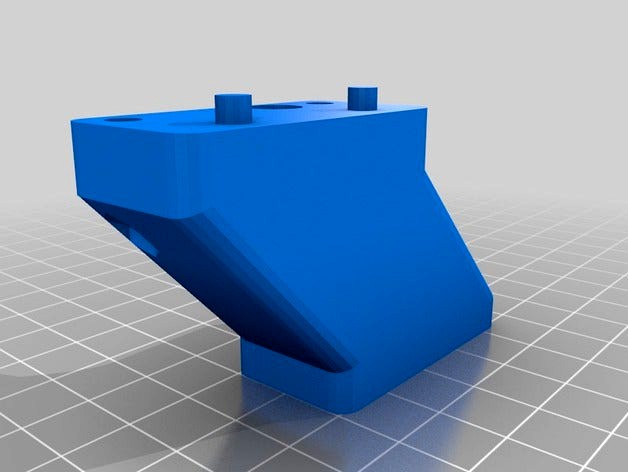
A standoff, spool insert and spool axel modification to allow for the use of larger Hatchbox filament spools inside the FlashForge Dreamer. Left and right standoffs are mirror images. Other spool insert designs will work for other filament spools. Verified to on all clearances / fully functional on 4 Dreamers with Hatchbox 1kg, 1.75mm filament.
1) Build two inserts, one left standoff and one right standoff
2) Power sand the two ears of each stock spool axel so they will fit inside the Hatchbox spool
3) Lay the Dreamer on its back and remove the bottom cover (6 screws)
4) Remove the stock spool holders from the instrument
5) Insert the 4 nuts into the hexagon reliefs in the standoffs: some persuasion required
6) Attach the stock spool holders to the standoffs: align the pins and tighten the screws
7) Attach the standoffs to the instrument: use extra screws and nuts provided with the Dreamer
8) Install the bottom cover and return to upright
9) Install Hatchbox spools with modified axels and check function