3DWarehouse
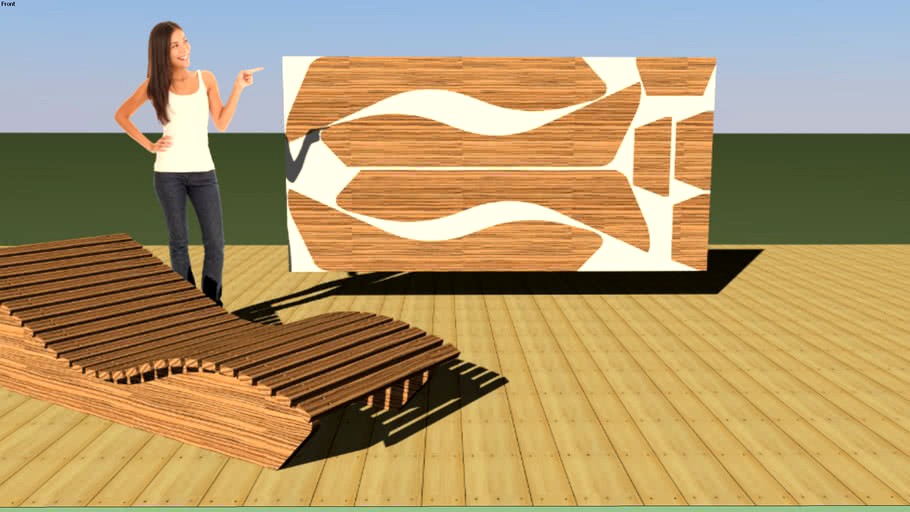
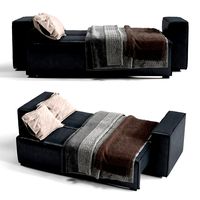
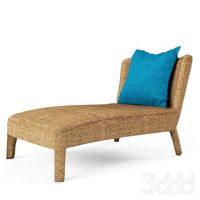
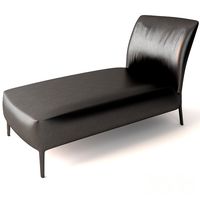
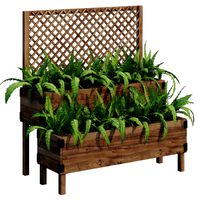
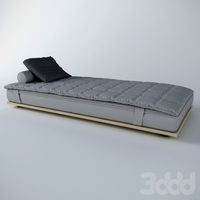
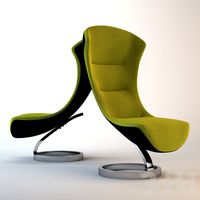
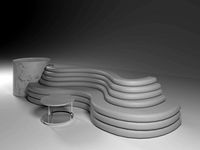
DIY -- build your own chaise lounge sleeper - grid & instructions
by 3DWarehouse
Last crawled date: 1 year, 9 months ago
DIY -- build your own chaise lounge - grid & instructions sleeper ---step # 1 (copy and print this list of to do things) follow the grid pattern you can either project it or print each square or do a transfer you only need one template make a cardboard temple of one side -- and impose it on a sheet of 3/4 ' thick plywood sheet 4' x8' -(feet) & (122cm x244 cm) metric, there is also the side table cut outs in the in the grid European size play sheet will be smaller 120cm x 240 cm but it will fit the grid just as well allowance was made for both sizes ---step # 2 cut the sides of the chair and glue them together (exterior glue or epoxy is better) this will give 2 x 1 1/2' thick sides wait a day till it drys out and sand all edges and paint with varnish or a stain color you like - oil base colors are much better on top of a wood exterior primer coat ---step # 3 you will need 26 PT (Pressure treated) slats 1'x2' to make the top -- in Europe preserved outdoor wood or vulcanized ( sort of a green color) --- the spacing will be 3/4' overall length is 28' to 32 ' your choice __ On how wide you want it - the when you screw them in - pre-drill everything so the wood will not split and counter sink the screw heads galvanized screws are Ok but stainless step # 4 start assembling you project spacing # 3/4 ' step # 5 after a few days and when it's all nice and dry you can stain the PT wood or paint to the desired color step # 6 do the same for the side table --- and the slats paint or varnish after blowing everything to dry ---it's a good idea to re coat six months down the road so they can last longer out doors now when you are all done and it's dry relax and enjoy it or make a set of 4 so you guest can enjoy it too
Similar models
3dwarehouse
free

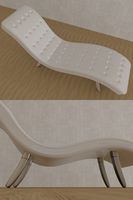
DIY -- build your own high back chaise lounge - grid & instructions
...t longer out doors now when you are all done and it's dry relax and enjoy it or make a set of 4 so you guest can enjoy it too
grabcad
free

Output Sidecar
...ds
- (2) rubber cabinet bumper stickers
- (1) 8 oz. pre-stain wood conditioner
- (1) 8 oz. wood stain
- (1) 8 oz. wood finish
:)
3dwarehouse
free

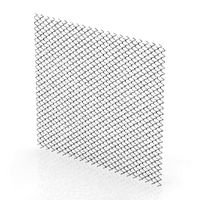
Wall Mounted Wood Slats
...nd edited easily. currently 1.25' x1.25' wood bars with 1/4' spacing. #siding #slats #wall_mounted_siding #wood_slats
grabcad
free

Output Platform
...ttps://www.mcmaster.com/92377a620/
(8x) 1/4" size, 5" long hex head screw for wood
https://www.mcmaster.com/92351a562/
thingiverse
free

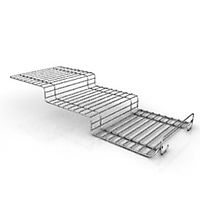
Spice Rack / Shelf by i-SOLIDS
... cut and stained/painted in 4 equal lengths pieces
desired stain / paint / protective clearcoat
3/4" #8 wood screws (x8)
3dwarehouse
free

#49 blog entry
...#49 blog entry
3dwarehouse
12' slatted wood stool #diy #original #painted #simple #stool #wood
thingiverse
free

DIY DC Bus Bar by flydr2
...inch x 1/16 rods... (could be coat hanger or similar as the bus. simple wood screws with flatten tips...
thingiverse
free
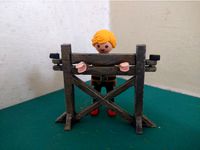
Playmobil Compatible Stocks by KlickMaker
...: make a black 2 part paint to 3 parts thinner wash and repeat step 3.
5: dry brush cream over the entire model.
happy printing!!
3d_sky
$8
ALBERT SCL2803
...ch, white gloss lacquer coating, a coating of white matte varnished, stained beech, mahogany. possible other material upholstery.
3dwarehouse
free

Finishing Stand
...the rotation allows you to easily work on any side but the bottom. #dowel #finishing #lazy_susan #painting #plywood #stain #stand
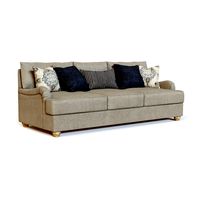
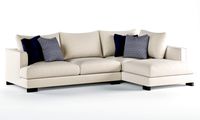
Sleeper
turbosquid
$50

Minter Sleeper
...uid
royalty free 3d model minter sleeper for download as max on turbosquid: 3d models for games, architecture, videos. (1341001)
turbosquid
$5

Sleeper Sofa
...squid
royalty free 3d model sleeper sofa for download as fbx on turbosquid: 3d models for games, architecture, videos. (1661324)
turbosquid
$30

Sleeper Sofa
...ree 3d model sleeper sofa for download as blend, obj, and fbx on turbosquid: 3d models for games, architecture, videos. (1593840)
turbosquid
$10

Sleeper Sofa
... available on turbo squid, the world's leading provider of digital 3d models for visualization, films, television, and games.
turbosquid
$2
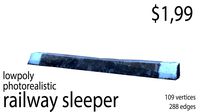
railway sleeper
...del railway sleeper for download as 3ds, obj, x, fbx, and dae on turbosquid: 3d models for games, architecture, videos. (1197815)
turbosquid
$29

Rails with Sleepers and Gravel
...e 3d model rails with sleepers and gravel for download as c4d on turbosquid: 3d models for games, architecture, videos. (1336707)
turbosquid
$24
MODLOFT Dominick Sleeper
...el modloft dominick sleeper for download as max, obj, and fbx on turbosquid: 3d models for games, architecture, videos. (1443465)
turbosquid
$9

Vienna Sleeper Sofa
... available on turbo squid, the world's leading provider of digital 3d models for visualization, films, television, and games.
turbosquid
$20
Dandrea Queen Sofa Sleeper
... free 3d model dandrea queen sofa sleeper for download as max on turbosquid: 3d models for games, architecture, videos. (1579467)
3ddd
$1

Unfurl Convertible Sleeper Sofa
...innovation usa unfurl convertible sleeper sofahttp://www.wayfair.com/innovation-usa-unfurl-convertible-sofa-iv1454.html
Grid
archibase_planet
free
Grid
...grid
archibase planet
grid grating grate
grid n050907 - 3d model (*.gsm+*.3ds) for interior 3d visualization.
archibase_planet
free
Grid
...grid
archibase planet
grid netting guard
grid n270214 - 3d model (*.gsm+*.3ds+*.max) for exterior 3d visualization.
archibase_planet
free
Grid
...grid
archibase planet
grid grating grate
grid modular n020114 - 3d model (*.gsm+*.3ds+*.max) for interior 3d visualization.
archibase_planet
free
Grid
...grid
archibase planet
grating grate lattic
grid n080311 - 3d model (*.gsm+*.3ds) for interior 3d visualization.
turbosquid
$10

grid
...oyalty free 3d model grid for download as blend, obj, and fbx on turbosquid: 3d models for games, architecture, videos. (1701808)
turbosquid
$9

Grid
... available on turbo squid, the world's leading provider of digital 3d models for visualization, films, television, and games.
3d_export
$5

Bust manwoman grid
...bust manwoman grid
3dexport
bust manwoman grid
3d_export
$5

Manwoman join grid
...manwoman join grid
3dexport
man_woman join grid
3d_export
$5

Middle finger grid
...middle finger grid
3dexport
middle finger grid
3d_export
$5

Head mickey grid
...head mickey grid
3dexport
head mickey grid
Chaise
3ddd
$1
Febo Chaise
...chaise
3ddd
febo , chaise , кушетка
febo chaise
3ddd
free

Brewster | Chaise
... chaise , капитоне
george smith кресло brewster chaise
3ddd
$1

crystal chaise
...crystal chaise
3ddd
кушетка
chaise
turbosquid
free

chaise
...
turbosquid
royalty free 3d model chaise for download as obj on turbosquid: 3d models for games, architecture, videos. (1312589)
3ddd
$1
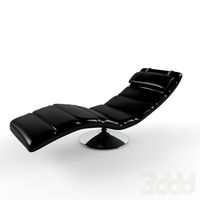
Chaise longue
...chaise longue
3ddd
кушетка
chaise longue - black
3ddd
$1
Chaise longue
...chaise longue
3ddd
кушетка
chaise longue with leather
3ddd
$1
La chaise
...la chaise
3ddd
la chaise
соблюдено габариты оригинала
turbosquid
$39

chaise
... available on turbo squid, the world's leading provider of digital 3d models for visualization, films, television, and games.
turbosquid
$20

CHAISE
... available on turbo squid, the world's leading provider of digital 3d models for visualization, films, television, and games.
turbosquid
free
Chaise
... available on turbo squid, the world's leading provider of digital 3d models for visualization, films, television, and games.
Diy
3d_export
free
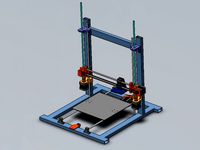
DIY 3D Printer
...diy 3d printer
3dexport
diy 3d printer model
turbosquid
$10
Diy tiered
...l diy tiered for download as max, max, max, max, fbx, and obj on turbosquid: 3d models for games, architecture, videos. (1603709)
turbosquid
$3
Diy Desk to Bench
...odel diy desk to bench for download as 3ds, max, obj, and fbx on turbosquid: 3d models for games, architecture, videos. (1506589)
turbosquid
$2

DIY Moon Light
...model diy moon light for download as obj, fbx, blend, and dae on turbosquid: 3d models for games, architecture, videos. (1501170)
3d_export
$8
DIY CNC Router 3D Model
...diy cnc router 3d model
3dexport
cnc; router; diy; homemade
diy cnc router 3d model maikeru86 58463 3dexport
turbosquid
$5
Diy Kitchen Cabinets
...itchen cabinets for download as 3ds, obj, fbx, blend, and dae on turbosquid: 3d models for games, architecture, videos. (1197373)
3d_export
free

Download free Diying Plant 3D Model
...download free diying plant 3d model
3dexport
diying plant blender
diying plant 3d model visitorsama 98607 3dexport
3ddd
$1
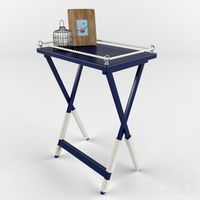
DIY coffee table + decor
... рамка для фото
кофейный столик diy 400х350х600(h) мм. моделился по фото. внимание: материалы - corona.
turbosquid
$3
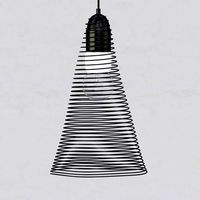
Diy Wire Lamp Shade
...free 3d model diy wire lamp shade for download as 3ds and fbx on turbosquid: 3d models for games, architecture, videos. (1347605)
cg_studio
$12
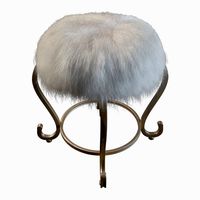
DIY MONGOLIAN LAMB STOOLS3d model
... hair soft pile white
.max - diy mongolian lamb stools 3d model, royalty free license available, instant download after purchase.
Instructions
3d_ocean
$5

Instruction pole
...ole signboard
here is the 3d model of instruction pole. model is low poly and good for games texture size – 2048*2048. poly – 381
3d_export
$30

Instructional Smart whiteboard 3D Model
...rt blackboard school education learning academic chalkboard classroom
instructional smart whiteboard 3d model braz 10766 3dexport
turbosquid
$5
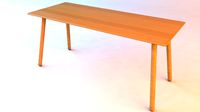
instruction table140 cm x 70 cm x 76 cm
...m x 70 cm x 76 cm for download as c4d, 3ds, dxf, fbx, and obj on turbosquid: 3d models for games, architecture, videos. (1593138)
3d_ocean
$10

Realistic Cassette with Rendering Instructions
...ity recording devices acquired the most prestigious in its time, with its unique original design made ??by renowned manufactur...
3d_export
$20
Chest of drawers for laser cutting
...drawers for laser cutting 3dexport the file has assembly instructionsvectors for laser cutting and other product information,personal...
3d_ocean
$49
Lego Tie-vector
...ean
lego maya star wars starwars tie vector
3d lego tie-vector created by instruction step-by-step. included materials, .obj .mb
3d_ocean
$2
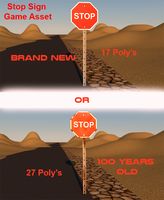
Stop Sign Game Asset
...other projects. this asset is uv mapped and comes with textures. package includes: stopsign_new.obj stopsign_old.obj stopsign_...
3d_ocean
$9

House
...4d with an element 3d compatible texture map and instructions ...
3d_ocean
$49
Lego X-wing
...stic shadow star wars toy toys x-wing
3d lego x-wing created by instruction step-by-step. included materials, textures, .obj .mb
3d_ocean
$3

Road Signs and Traffic
...ed speed signals stop sign traffic warnings
20 models of road signs and traffic mental ray render textures of each of the objects
Lounge
3ddd
free
LOUNGE
...lounge
3ddd
кушетка
lounge
3ddd
$1
lounge
...lounge
3ddd
шезлонг
lounge chair
archibase_planet
free
Lounge
...lounge
archibase planet
chaise-longue deck-chair lounge
lounge n040110 - 3d model (*.gsm+*.3ds) for interior 3d visualization.
archibase_planet
free
Lounge
...nge
archibase planet
lounge stove-bench chaise-longue deck-chair
lounge n010113 - 3d model (*.3ds) for interior 3d visualization.
3ddd
$1

Кресло Lounge
...кресло lounge
3ddd
кресло lounge , lounge
кресло lounge
3ddd
$1
Lounge Klaeber
...lounge klaeber
3ddd
lounge , klaeber
lounge by nico klaeber
3d_ocean
$8
Lounge Chair
...lounge chair
3docean
armchair chair design exterior home house interior lounge lounge chair
lounge chair
turbosquid
$24
Lounge
...
turbosquid
royalty free 3d model lounge for download as max on turbosquid: 3d models for games, architecture, videos. (1512040)
turbosquid
$18

Lounge
...
turbosquid
royalty free 3d model lounge for download as max on turbosquid: 3d models for games, architecture, videos. (1511654)
3d_export
$12
Lounge Sofa
...lounge sofa
3dexport
lounge sofa
Own
turbosquid
$50

own model 1
... available on turbo squid, the world's leading provider of digital 3d models for visualization, films, television, and games.
turbosquid
$50

own model 2
... available on turbo squid, the world's leading provider of digital 3d models for visualization, films, television, and games.
turbosquid
$30

Just a TRUCK (Own 6th concept)
... available on turbo squid, the world's leading provider of digital 3d models for visualization, films, television, and games.
turbosquid
$29

Just a TRUCK (Own 4nd concept)
... available on turbo squid, the world's leading provider of digital 3d models for visualization, films, television, and games.
turbosquid
$29
Just a Truck (Own 2nd concept)
... available on turbo squid, the world's leading provider of digital 3d models for visualization, films, television, and games.
turbosquid
$29

Just a truck (Own 1st concept)
... available on turbo squid, the world's leading provider of digital 3d models for visualization, films, television, and games.
turbosquid
$10

Curved TV Of My Own Design
... available on turbo squid, the world's leading provider of digital 3d models for visualization, films, television, and games.
turbosquid
$49

Futuristic bike own concept: Project-1
... available on turbo squid, the world's leading provider of digital 3d models for visualization, films, television, and games.
turbosquid
$5

residential complex with its own landscaped area
... available on turbo squid, the world's leading provider of digital 3d models for visualization, films, television, and games.
turbosquid
$2

Picture Frame Set for adding your own picture.
...et for adding your own picture. for download as fbx and blend on turbosquid: 3d models for games, architecture, videos. (1413762)
Build
archibase_planet
free
Building
...building high-rise building office building construction
building n050115 - 3d model (*.gsm+*.3ds) for exterior 3d visualization.
3d_export
$5
building
...building
3dexport
clasic building
3ddd
$1
building
...building
3ddd
здание
building
archibase_planet
free

Building
...lanet
building office office building construction
building n090914 - 3d model (*.gsm+*.3ds+*.max) for exterior 3d visualization.
archibase_planet
free

Building
...net
building tower construction high-rise building
building n100214 - 3d model (*.gsm+*.3ds+*.max) for exterior 3d visualization.
3d_export
free
Building
...building
3dexport
low poly building;
3d_export
free
Building
...building
3dexport
low poly building;
3d_export
free
Building
...building
3dexport
low poly building;
3d_export
free
Building
...building
3dexport
low poly building;
3d_export
free
Building
...building
3dexport
low poly building;