Thingiverse

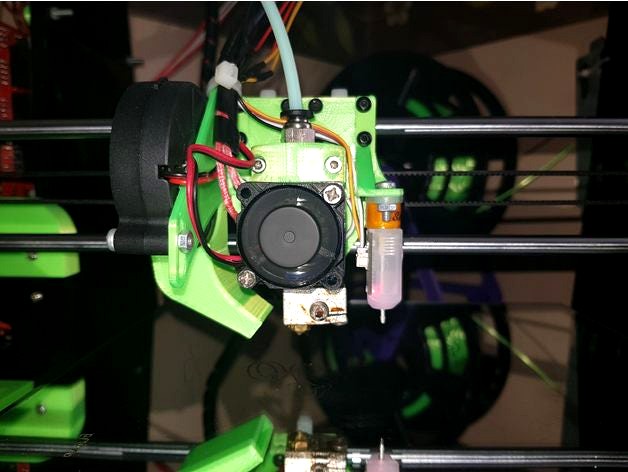
Compact Modular E3D Carriage by FerociousDesigns
by Thingiverse
Last crawled date: 4 years, 6 months ago
Update 24/02/18: Added adjustable bltouch mount. Made the slot in the fan duct bigger so it fits the A8 stock blower fan a bit better.
Please consider leaving a tip or donating via paypal on my website: http://ferociousdesigns.co.uk/ if you like this design! All support is very much appreciated!
I designed this carriage to be easy to print and for people to be able to design simple modular extensions to accommodate different fan mounts, sensor mounts and belt holders. I have purposely left it fairly open for this reason.
Required Parts:
14x M3x5mm Pan head bolts
4x M3x8mm Pan head bolts
2x M3x12mm Pan head bolts
2x M3x20mm Cap head bolts
22x M3 Nuts
3x Igus Drylin RJ4JP-01-08 or equivalent bearings - IGUS DryLin® RJ4JP 01-08 Bearing
E3D V6 or Clone - Xcsource E3D v6 clone
3x 3mm wide cable ties
Printing:
It is totally up to you how to print, the parts all have nice flat edges to print them on or you could get creative if you wanted ;) I printed in PLA at 0.2mm layers with 25% cubic infill as I do with most parts. It feels strong enough like this.
Assembly:
Assemble as in the picture, it should all be pretty self explanatory.
