Thingiverse
Buck_converter_box_with_lid(for RaspberryPi)
by Thingiverse
Last crawled date: 5 years, 9 months ago
For the Raspberry-Pi on my Anet A8 plus and my A8 (without plus) I needed a buck-converter.
Just directly connect it to the output of the powersupply (PSU) and the 24 or 12 Volt of that is converted to the 5V that is needed for the Pi (you need to adjust it).
This standard converters can provide 3 Amps max so that is more then enough for the 2.5 Amps that the Pi's need.
I don't put the supply and pi on the printer since I want them to stay cool.
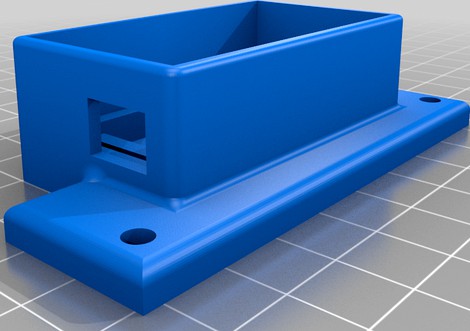
I made this little box with lid which has holes in them for cooling and just click the board onto place (it is a tight fit) so it has cooling and sits there.These simple (about 10 for 5 bucks) buck-converters have no usable holes for screws but you can add glue if you need it of course.
The lid is a tight fit so it stays on place. If it is too tight on your printer, you can use a knife to make the nobs on the inside a bit smaller.
Just directly connect it to the output of the powersupply (PSU) and the 24 or 12 Volt of that is converted to the 5V that is needed for the Pi (you need to adjust it).
This standard converters can provide 3 Amps max so that is more then enough for the 2.5 Amps that the Pi's need.
I don't put the supply and pi on the printer since I want them to stay cool.
I made this little box with lid which has holes in them for cooling and just click the board onto place (it is a tight fit) so it has cooling and sits there.These simple (about 10 for 5 bucks) buck-converters have no usable holes for screws but you can add glue if you need it of course.
The lid is a tight fit so it stays on place. If it is too tight on your printer, you can use a knife to make the nobs on the inside a bit smaller.