Thingiverse
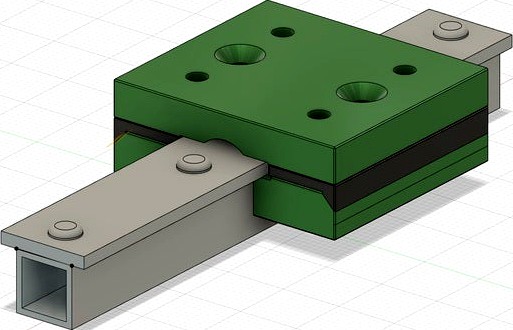
3DP linear bearing (recirculating) and DIY linear rail (old version) by Baltojikale
by Thingiverse
Last crawled date: 3 years, 3 months ago
Update https://www.thingiverse.com/thing:4671314
3DP linear bearing and DIY linear rail
Introduction
Been searching cheap alternative which can be 3d printable (partially) and made from easily acquirable materials from home depo or similar home improvement shops. Main challenge was to innovate linear rail design which could have mounting holes to flat surface. There are few recirculating linear bearing designs on thingiverse or other depositories. Most of them designed to be used with 3dp rails or V or T aluminum profiles. T or V slot aluminum profiles ware out of question as their not that accessible locally. Thus simple profiles were used to produce linear rail. For linear bearing prototype was made with 3mm steel ball bearings. Resent ones aren’t that available but one could try to find store which specializes in bearings they often sell have bb in packs.
Design
Linear rail
Rail was produced from rectangular 15x2 mm aluminum beam and from 10x10 mm aluminum square tube. Two pieces were center drilled and riveted to acquire shape which can provide rolling surface for BB’s. Making rail involves printing alignment jig (or jigs). For hole drilling best to use calipers and pointy punch to mark drilling holes.
Linear bearing
Design was improved upon few iterations. Design required to incorporate tensioning mechanics towards linear rail. Thus bearing is made up from 5 parts. Size is kept as small as possible but also leaving some thick zones for sturdiness.
Contact points
This rail and bearing design incorporates at least 6 points of contact between rail and BB.
Printing
Used Pla with 25-35% infill, for dimensional accuracy printed outer walls first and very slowly (~5mm/s) 0.4mm nozzle. Printer slicing profile should be calibrated, at least for inner holes. For my set up I scale up models by 0.5% to compensate for part shrinking. Used 3mm BB thus model has incorporated 3.3mm diameter BB guide grooves.
Tensioning system
Current model has spacer parts which should be adjusted with file/sandpaper or before printing. Also there is 45 degree angle incorporated to horizontal tensioning. There are 2 surfaces which can be grinded off to ensure either horizontal or vertical tensioning. For tensioning inner parts have oval shaped holes thus M3 screws have space for sideways movement.
Short demonstrationhttps://youtu.be/ryh3pSujLEY
Further development
would be nice to have community help to improve design. Design improvements involve other shape rail testing, adaptation for 6mm airsoft BB’s(bullets) and more clever designs thus less parts are needed to print. This design has at least one problem: tensioning mechanism is same as mounting mechanism thus one cannot over tighten mounting screw as they can possible deform part and interfere with BB circulation.
Similar models
thingiverse
free

3DP linear bearing (recirculating) and DIY linear rail 4.5mm bb (Final version) by Baltojikale
...made from easily acquirable materials from home depo or similar home improvement shops. main challenge was to innovate linear...
thingiverse
free
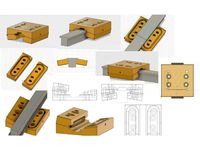
3DP linear bearing (recirculating) and DIY linear rail V2 (old version) by Baltojikale
...s as elephant foot.
current design could be aplicable in 3d printers.
also working on 6 mm bb version. posible cnc aplications.
thingiverse
free
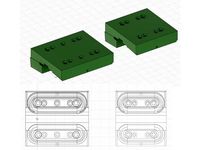
3DP linear bearing (recirculating) and DIY linear rail 6mm bb by Baltojikale
...as reference only. too much wrong operations.
https://www.thingiverse.com/thing:4662854
https://www.thingiverse.com/thing:4671314
thingiverse
free

Recirculating linear bearing 20x20 profile by GreyHunter147
...ion. work with 6mm sfere, airsoft bbs can be used for testing.
update
i correct the internal rail, now work better with 6mm balls
thingiverse
free
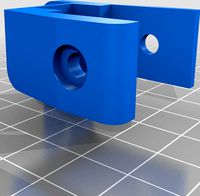
MGN12 Endcap for 2020 Aluminum Profile System by TehseenulHasan
...rse
this is the endcap for mgn12 linear rail bearing (mgn12h). it is designed to mount on 2020 aluminum profile using m4 screws.
grabcad
free

Aluminum Profile Linear Movement Mechanism
...aluminum profile linear movement mechanism
grabcad
aluminum profile linear movement mechanism
grabcad
free

Aluminum Profile Linear Movement Mechanism
...aluminum profile linear movement mechanism
grabcad
aluminum profile linear movement mechanism v2.0
grabcad
free

Linear movement mechanism for aluminum profile
...linear movement mechanism for aluminum profile
grabcad
linear movement mechanism for aluminum profile 40x80mm
grabcad
free

Linear movement mechanism for aluminum profile
...linear movement mechanism for aluminum profile
grabcad
linear movement mechanism for aluminum profile 45x90mm (v3.0)
grabcad
free

Linear movement mechanism for aluminum profile
...linear movement mechanism for aluminum profile
grabcad
linear movement mechanism for aluminum profile 45x90mm (v4.0)
Baltojikale
thingiverse
free

3DP linear bearing (recirculating) and DIY linear rail 6mm bb by Baltojikale
...as reference only. too much wrong operations.
https://www.thingiverse.com/thing:4662854
https://www.thingiverse.com/thing:4671314
thingiverse
free

Neopixel progress bar CURA plugin for klipper by Baltojikale
...ted in voron standarts: 4 perimeters, 5 tops and bottoms and 40 infill. ( for thin parts likethese it unintentionaly becomes 100%
thingiverse
free

3DP linear bearing (recirculating) and DIY linear rail V2 (old version) by Baltojikale
...s as elephant foot.
current design could be aplicable in 3d printers.
also working on 6 mm bb version. posible cnc aplications.
thingiverse
free
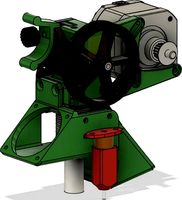
SILVIUS extruder: Belted 1:5 BMG dual gear by Baltojikale
...iangle labs volcano hot end clone kit was not used as it was louder. thus designed that “monstrosity” which is present in photos.
thingiverse
free

3DP linear bearing (recirculating) and DIY linear rail 4.5mm bb (Final version) by Baltojikale
...e/ryh3psujley
further development
application in cnc project. currently working on test model of corexy laser cnc. still testing.
Recirculating
3d_export
$5

recirculator
...recirculator
3dexport
medical recirculator. under subdi.
turbosquid
$10
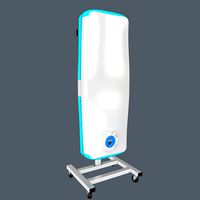
recirculator
...odel recirculator for download as c4d, c4d, fbx, obj, and stl on turbosquid: 3d models for games, architecture, videos. (1681233)
cg_studio
$99

EGR engine3d model
...ulation gasturbine turbine
.obj .fbx .max - egr engine 3d model, royalty free license available, instant download after purchase.
thingiverse
free

Recirculating air filter by Manxian
...inatly safe its best not to take chances with you or your families health this is designed to help maintain heat in the enclosure
thingiverse
free
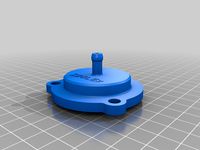
Opel Vauxhall internal recirculation Valve BOV 2.0 Turbo
...nal recirculation valve bov 2.0 turbo
thingiverse
opel/vauxhall 2.0 turbo internal recirculation valve (bov) for
z20lex engines.
thingiverse
free

HKS SSQV Recirculating Adapter by notarikon
...ted, and currently resides in my vehicle. underbonnet temps have shown no issue (printed in pla), with no deformation or warping.
thingiverse
free

Saab T7 recirculation block off by hardov
...ecirculation path if you use td04 or gt17 turbo and cobra pipe. it is necessary if you want to install blow off valve to the car.
thingiverse
free

HKS SSQV Recirculation fitting with Whistle/Chirp by Skuce
...hks ssqv recirculation fitting with whistle/chirp by skuce
thingiverse
sketchup 2017
thingiverse
free

Recirculating linear bearing (modular) by GreyHunter147
...nd screw them together with simple m3 screws. it's small and cheap to print. next, i also add the 20x20 square frame version.
thingiverse
free
Saab T5 recirculation block off by hardov
...necessary if you want to install blow off valve to the car. works good with pla. i have used it a year on my car and no problems.
3Dp
turbosquid
$15

ELEPHANT / / 3DP Animation Studio
... available on turbo squid, the world's leading provider of digital 3d models for visualization, films, television, and games.
turbosquid
$15

GOAT / / 3DP Animation Studio
... available on turbo squid, the world's leading provider of digital 3d models for visualization, films, television, and games.
turbosquid
$100

Gandhi Salt March 3DP
...ds, dxf, lwo, obj, wrl, x, c4d, fbx, 3dm, blend, lxo, and dae on turbosquid: 3d models for games, architecture, videos. (1447208)
3d_export
free
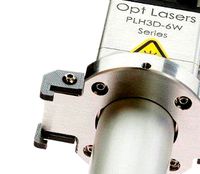
z-morph 3dp rear hook opt lasers
...also accessible on:<br>to find out more about the functionality of laser 3d printers, take a look at the following webpage:
3d_export
free
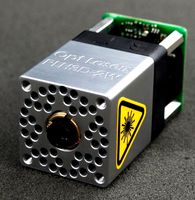
cnc 3dp laser engraving head opt lasers
...n also be found for free at:<br>if you want to take a look at the specifications of this laser head, please visit the link:
3d_export
free
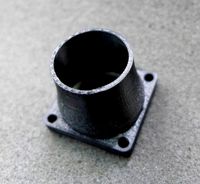
cnc 3dp laser nozzle for 2w laser opt lasers
...logy that gave birth to cutting and engraving laser heads this laser nozzle was designed for, read the article in the link below:
3d_export
free
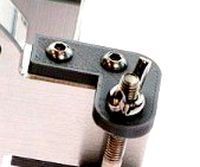
z-morph 3dp front hook opt lasers
...k is also available from:<br>to find out more about the 3d laser printer engraver technology, you can visit the link below:
3d_export
free
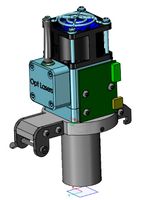
z-morph 3dp 6w engraving laser head
...e via:<br>if you want to learn the specifications of the 6w opt lasers cutting and engraving laser head, visit the website:
3d_export
$5
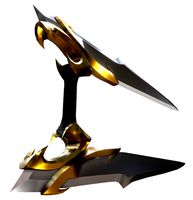
katar
...occlusion, curvature, world space normals, thickness, position.<br>fbx, obj, blend, 3dp 3ds, glb, ply, stl, usdc, x3d, mtl, dae,...
thingiverse
free
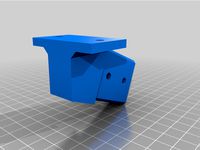
Robotics Feed 3DP
...ector-2
side wall extrusion 3dp connector-2
bevel box -1
l dt connector 1-2
l dt connector 2-2
arc and back plate 3dp connector-1
Diy
3d_export
free
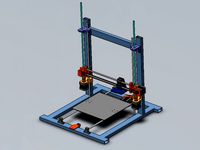
DIY 3D Printer
...diy 3d printer
3dexport
diy 3d printer model
turbosquid
$10

Diy tiered
...l diy tiered for download as max, max, max, max, fbx, and obj on turbosquid: 3d models for games, architecture, videos. (1603709)
turbosquid
$3
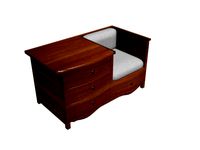
Diy Desk to Bench
...odel diy desk to bench for download as 3ds, max, obj, and fbx on turbosquid: 3d models for games, architecture, videos. (1506589)
turbosquid
$2

DIY Moon Light
...model diy moon light for download as obj, fbx, blend, and dae on turbosquid: 3d models for games, architecture, videos. (1501170)
3d_export
$8
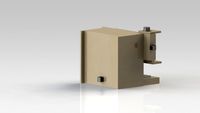
DIY CNC Router 3D Model
...diy cnc router 3d model
3dexport
cnc; router; diy; homemade
diy cnc router 3d model maikeru86 58463 3dexport
turbosquid
$5
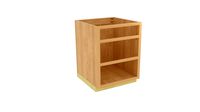
Diy Kitchen Cabinets
...itchen cabinets for download as 3ds, obj, fbx, blend, and dae on turbosquid: 3d models for games, architecture, videos. (1197373)
3d_export
free

Download free Diying Plant 3D Model
...download free diying plant 3d model
3dexport
diying plant blender
diying plant 3d model visitorsama 98607 3dexport
3ddd
$1
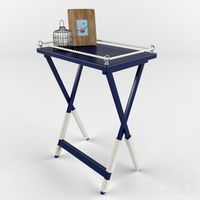
DIY coffee table + decor
... рамка для фото
кофейный столик diy 400х350х600(h) мм. моделился по фото. внимание: материалы - corona.
turbosquid
$3
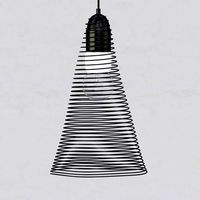
Diy Wire Lamp Shade
...free 3d model diy wire lamp shade for download as 3ds and fbx on turbosquid: 3d models for games, architecture, videos. (1347605)
cg_studio
$12
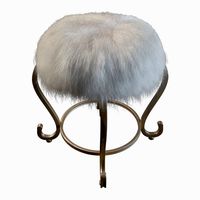
DIY MONGOLIAN LAMB STOOLS3d model
... hair soft pile white
.max - diy mongolian lamb stools 3d model, royalty free license available, instant download after purchase.
Linear
3ddd
$1
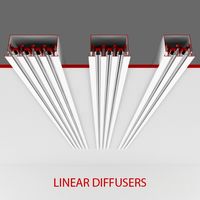
Linear Diffusers
...linear diffusers
3ddd
диффузор
set of linear diffusers for ceiling.
design_connected
$27
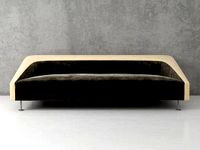
Linear Sofa
...linear sofa
designconnected
scp linear sofa computer generated 3d model.
design_connected
$18
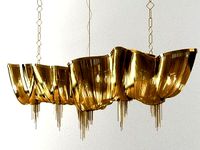
Atlantis linear
...atlantis linear
designconnected
terzani atlantis linear pendant lights computer generated 3d model. designed by barlas baylar.
3d_export
$5
light linear unit
...light linear unit
3dexport
light linear unit
turbosquid
$5
Linear Actuator
...
royalty free 3d model linear actuator for download as blend on turbosquid: 3d models for games, architecture, videos. (1589061)
turbosquid
$29
Linear panel
...oyalty free 3d model linear panel for download as max and obj on turbosquid: 3d models for games, architecture, videos. (1391254)
turbosquid
$12
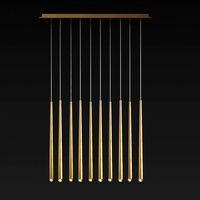
Linear Chandelier
...y free 3d model linear chandelier for download as max and obj on turbosquid: 3d models for games, architecture, videos. (1574289)
turbosquid
$10
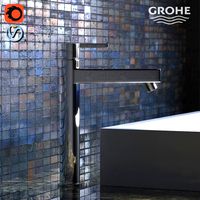
Grohe Lineare
... available on turbo squid, the world's leading provider of digital 3d models for visualization, films, television, and games.
turbosquid
$10
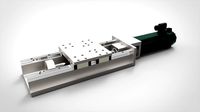
Linear Axis
... available on turbo squid, the world's leading provider of digital 3d models for visualization, films, television, and games.
3d_export
$5

Linear Unit 3D Model
...linear unit 3d model
3dexport
linear unit force torque velocity
linear unit 3d model fau 71218 3dexport
Rail
3d_ocean
$5
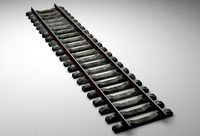
rails
...rails
3docean
old rails rails sleepers
old rails
archibase_planet
free
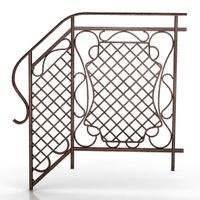
Rail
...chibase planet
rail railing handrail guard-rail
rail forged fence n310814 - 3d model (*.gsm+*.3ds) for exterior 3d visualization.
archibase_planet
free
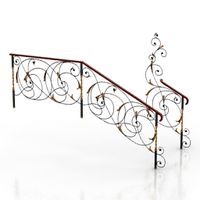
Rail
...rail
archibase planet
handrail railing guard-rail
rail n220914 - 3d model (*.gsm+*.3ds) for interior 3d visualization.
archibase_planet
free

Rail
...rail
archibase planet
railing hand-rail banisters
rail n130309 - 3d model (*.gsm+*.3ds) for interior 3d visualization.
archibase_planet
free
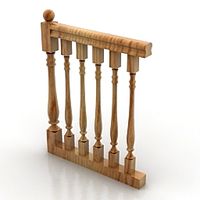
Rail
...rail
archibase planet
railing hand-rail banisters
rail n270510 - 3d model (*.gsm+*.3ds) for interior 3d visualization.
archibase_planet
free
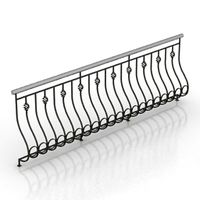
Railing
...
archibase planet
railing handrail fence guard-rail
railing n140314 - 3d model (*.gsm+*.3ds+*.max) for exterior 3d visualization.
archibase_planet
free
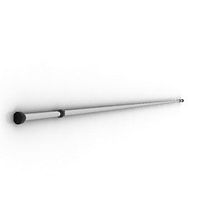
Railing
...railing
archibase planet
railing
railing- 3d model (*.gsm+*.3ds) for interior 3d visualization.
archibase_planet
free
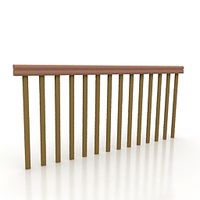
Railing
...railing
archibase planet
railing enclosure barrier
light railing - 3d model for interior 3d visualization.
archibase_planet
free
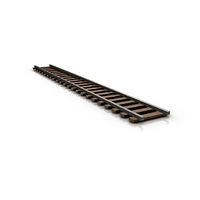
Rail
...rail
archibase planet
metal railing
rail n280608 - 3d model (*.gsm+*.3ds) for interior 3d visualization.
archibase_planet
free
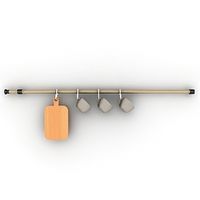
Railing
...railing
archibase planet
railing kitchen ware
railing 1 - 3d model (*.gsm+*.3ds) for interior 3d visualization.
Bearing
3d_export
$6
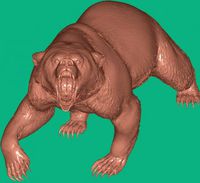
Bear
...bear
3dexport
bear
3d_export
$5
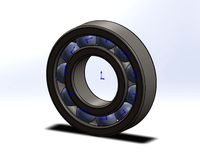
bearing
...bearing
3dexport
bearing
3d_export
$12
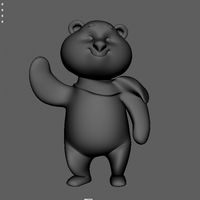
bear
...bear
3dexport
bear for 3d printing toy
3d_ocean
$9
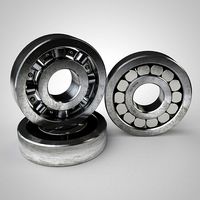
Bearing
...ne ball ballbea bearing bearings engine hard industrial machine mechanic metal part piece plastic ring screw sphere steel
bearing
archibase_planet
free

Bear
...bear
archibase planet
statuette bear picturesque element
bear - 3d model (*.gsm+*.3ds) for interior 3d visualization.
3d_export
$5

bear
...bear
3dexport
bear have a stl.,3dm files
archibase_planet
free
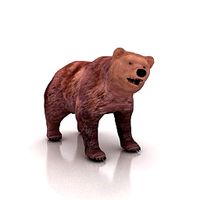
Bear
...bear
archibase planet
bear animals omnivorous animal
bear angry n250907- 3d model (*.gsm+*.3ds) for interior 3d visualization.
archibase_planet
free

Bear
...bear
archibase planet
bear animals omnivorous animal
bear easy n250907 - 3d model (*.gsm+*.3ds) for interior 3d visualization.
3ddd
$1

Teddy bear
...teddy bear
3ddd
teddy bear , медведь
teddy bear :)
3d_ocean
$12
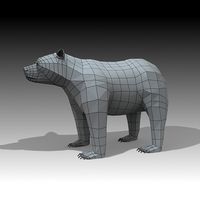
Bear
... formats. created with 3d max 9.0. this file is very useful for learning & rigging. it can be used for any professional work.
Old
turbosquid
$17
Old
...old
turbosquid
royalty free 3d model old for download as on turbosquid: 3d models for games, architecture, videos. (1646242)
3d_ocean
$9

Old phone
...old phone
3docean
classic old phone phone
classic old phone
3d_ocean
$15

Old telephone
...old telephone
3docean
old phone telephone
old telephone v-ray render
3d_ocean
$3
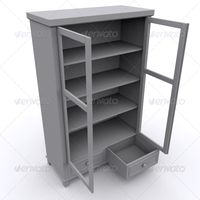
Old Ambry
...old ambry
3docean
ambry furniture highpoly old
old ambry made in high detail.
3ddd
free

Old England
...nd
3ddd
old england , смеситель
двухрычажный смеситель old england. производство италия.
3d_export
$20

the old man
...the old man
3dexport
the old man.
3d_export
$5
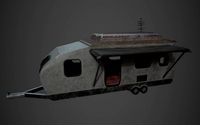
an old trailer
...an old trailer
3dexport
an old trailer
3d_export
$5

old tv
...old tv
3dexport
old tv
3d_export
$5

old iron
...old iron
3dexport
old iron
3d_export
$5
Old TV
...old tv
3dexport
old tv
Version
3ddd
$1
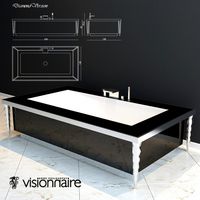
Diamond version
...nd , version , ванна
visionnaire - diamond bath
turbosquid
$50
LibraryMini Version
...free 3d model librarymini version for download as max and jpg on turbosquid: 3d models for games, architecture, videos. (1617724)
design_connected
$34

Barocco Version 01
...barocco version 01
designconnected
zanotta barocco version 01 computer generated 3d model. designed by progetti, emaf.
design_connected
$27

Barocco Version 02
...barocco version 02
designconnected
zanotta barocco version 02 computer generated 3d model. designed by progetti, emaf.
turbosquid
free
![Door [2 versions]](/t/13243146.jpg)
Door [2 versions]
...rbosquid
free 3d model door [2 versions] for download as fbx on turbosquid: 3d models for games, architecture, videos. (1223985)
turbosquid
$2
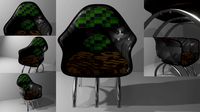
seat version 0.1
...
royalty free 3d model seat version 0.1 for download as blend on turbosquid: 3d models for games, architecture, videos. (1432653)
turbosquid
$12
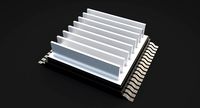
Chip Version 03
...lty free 3d model chip version 03 for download as c4d and fbx on turbosquid: 3d models for games, architecture, videos. (1241145)
3d_export
$10

magnolia grandiflora mature version
...magnolia grandiflora mature version
3dexport
magnolia grandiflora mature version
3d_export
$8
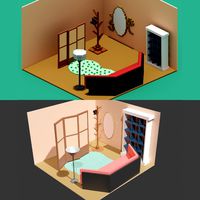
room assets and voxel version
...room assets and voxel version
3dexport
room assets and voxel version
turbosquid
$35

Zil Civilian version
... model zil civilian version for download as cgf, fbx, and obj on turbosquid: 3d models for games, architecture, videos. (1639420)
