Thingiverse
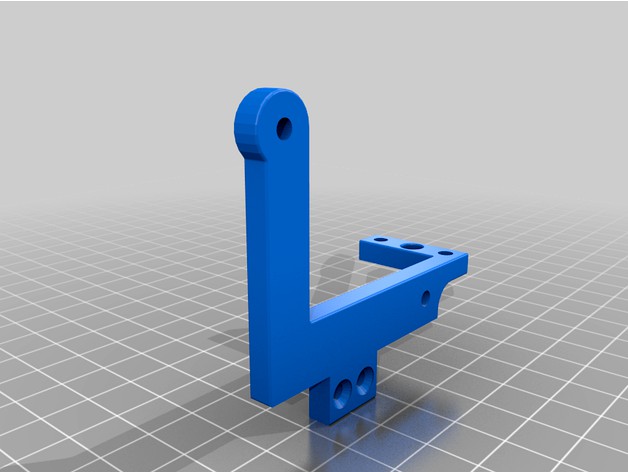
3D/BL touch mount for Anet A6 by ithinuel
by Thingiverse
Last crawled date: 4 years, 2 months ago
Don't forget to post your I Made One !!
Change log
UPDATE 17/10/21 : Added picture & instructions for cabling.
UPDATE 17/08/06 : Configurations added.
UPDATE 17/08/02 : Bootloader reflashed, marlinfw reflashed, lets measure the right coordinates now !
UPDATE 17/07/30 : I bricked my printer while changing the firmware ... I'm reflashing it with an arduino as ISP
Configuration
Of course you need : #define BLTOUCH
Probe offsets (you may have adjust the Z position to you own probe z offset) :
//ANET A6 with BLTouch/3D-Touch Front mount
// (mount: https://https://www.thingiverse.com/thing:2451350)
#define X_PROBE_OFFSET_FROM_EXTRUDER -9 // X offset: -left +right [of the nozzle]
#define Y_PROBE_OFFSET_FROM_EXTRUDER -56 // Y offset: -front +behind [the nozzle]
#define Z_PROBE_OFFSET_FROM_EXTRUDER -1.7 // Z offset: -below +above [the nozzle]
Probing limits :
#define LEFT_PROBE_BED_POSITION (0 + MIN_PROBE_EDGE)
#define RIGHT_PROBE_BED_POSITION (X_MAX_POS + X_PROBE_OFFSET_FROM_EXTRUDER)
#define FRONT_PROBE_BED_POSITION (0 + MIN_PROBE_EDGE)
#define BACK_PROBE_BED_POSITION (Y_MAX_POS + Y_PROBE_OFFSET_FROM_EXTRUDER)
You can also #define PROBE_Y_FIRST to reduce the stress on you prototyping wiring ;-)
And if you are using octoprint, you can probably disable the SD Card by commenting out :#define SDSUPPORT.
Cabling :
IDC 10 pins connector 1 of both genders : wire 7 ;
JST XH 3pins female ;
Dupont 1pin 1 of bot gender.
then follow the colors of the wires on the pictures.Note: Brown goes to black too.
Side Notes :
I'm using only 3 grid points on a linear bed levelling.
I am printing on a borosilicate glass bed, I don't know if more point are needed.